 Building the substrate
In this photo documentation, we will introduce to you, how to create an aquascaping layout. In particular, it explains step by step how to build a substrate system.
Step one: Styrofoam plates
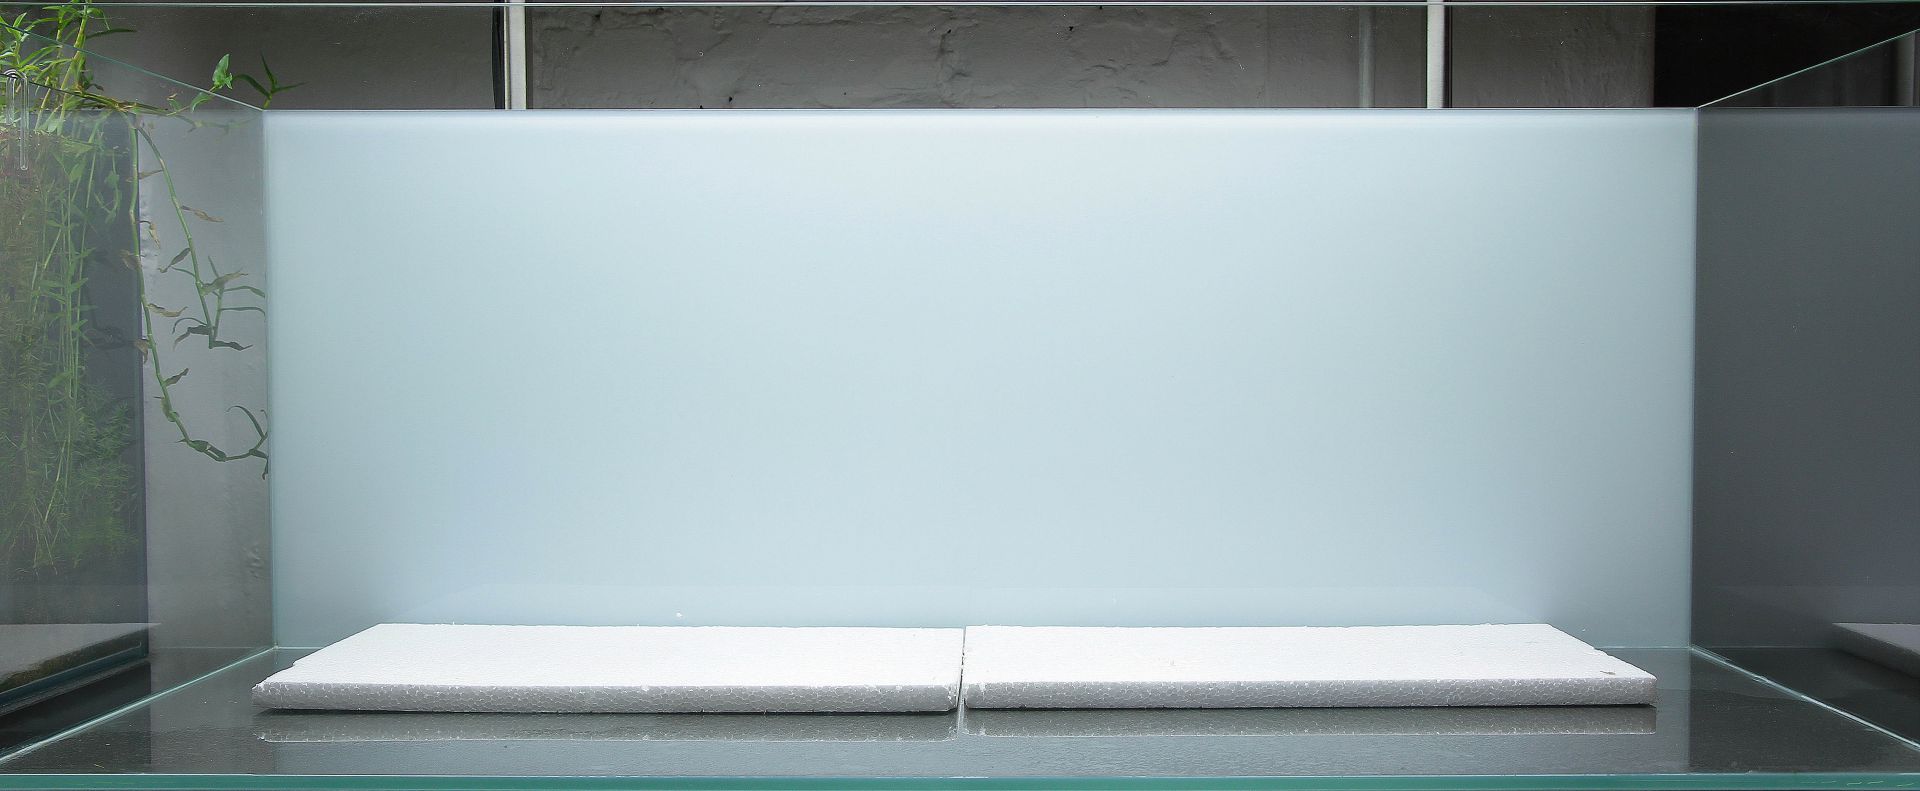
Tailored styrofoam plates are placed at the bottom of the aquarium as the lowest layer. For aesthetic reasons, the styrofoam should not touch the front and side panes. The styrofoam layer has many benefits:
- A more pronounced sense of depth is created, because the construction in the back of the tank is slightly hightened. In addition, this measure saves some soil material.
- The bottom pane of the tank is protected from scratches.
- It provides better stability, because individual particles of the soil to be used later, can better anchor themselves into the rough surface of the styrofoam. They would easily slip on the smooth surface of the bottom pane of the tank.
However, you need to make sure to weigh the polystyrene plates down properly, as they naturally have a tendency to buoyancy. If you are planning a hardscape construction with many heavy stones, this is no problem. In layouts with a focus on light stones (lava) or driftwood, the plates need to be weighted down with additional stone material (flat slate).
Step two: porous substrate material
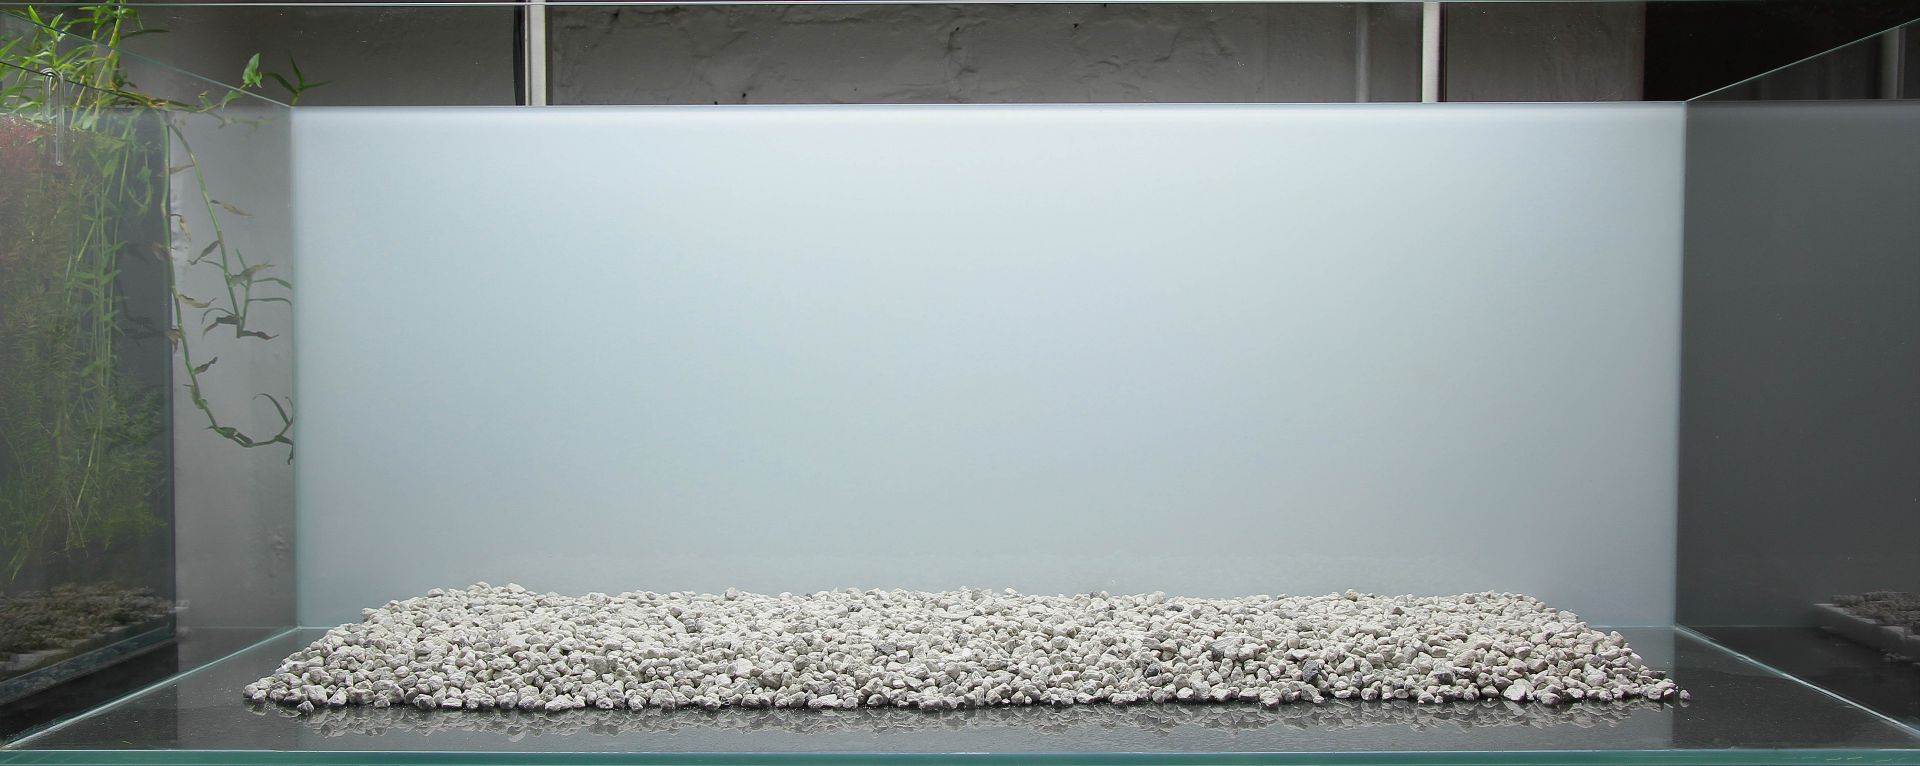
As a first base layer, porous substrate material is introduced. Depending on the supplier, these substrates consist of different materials, such as lava scraps or pumice. Most of these also contain added nutrients or additives. ADA Power Sand, JBL Volcano Mineral or Green Base XR von Cal Aqua Labs just mentioned as an example. The porosity of the materials contained, takes care of a good water perfusion in the lower regions of the substrate, ensuring optimal nutrient transport. Compaction in the deeper layers is avoided. This porosity offers a much bigger surface for sessile bacteria to settle.
Step three: pulverized additives
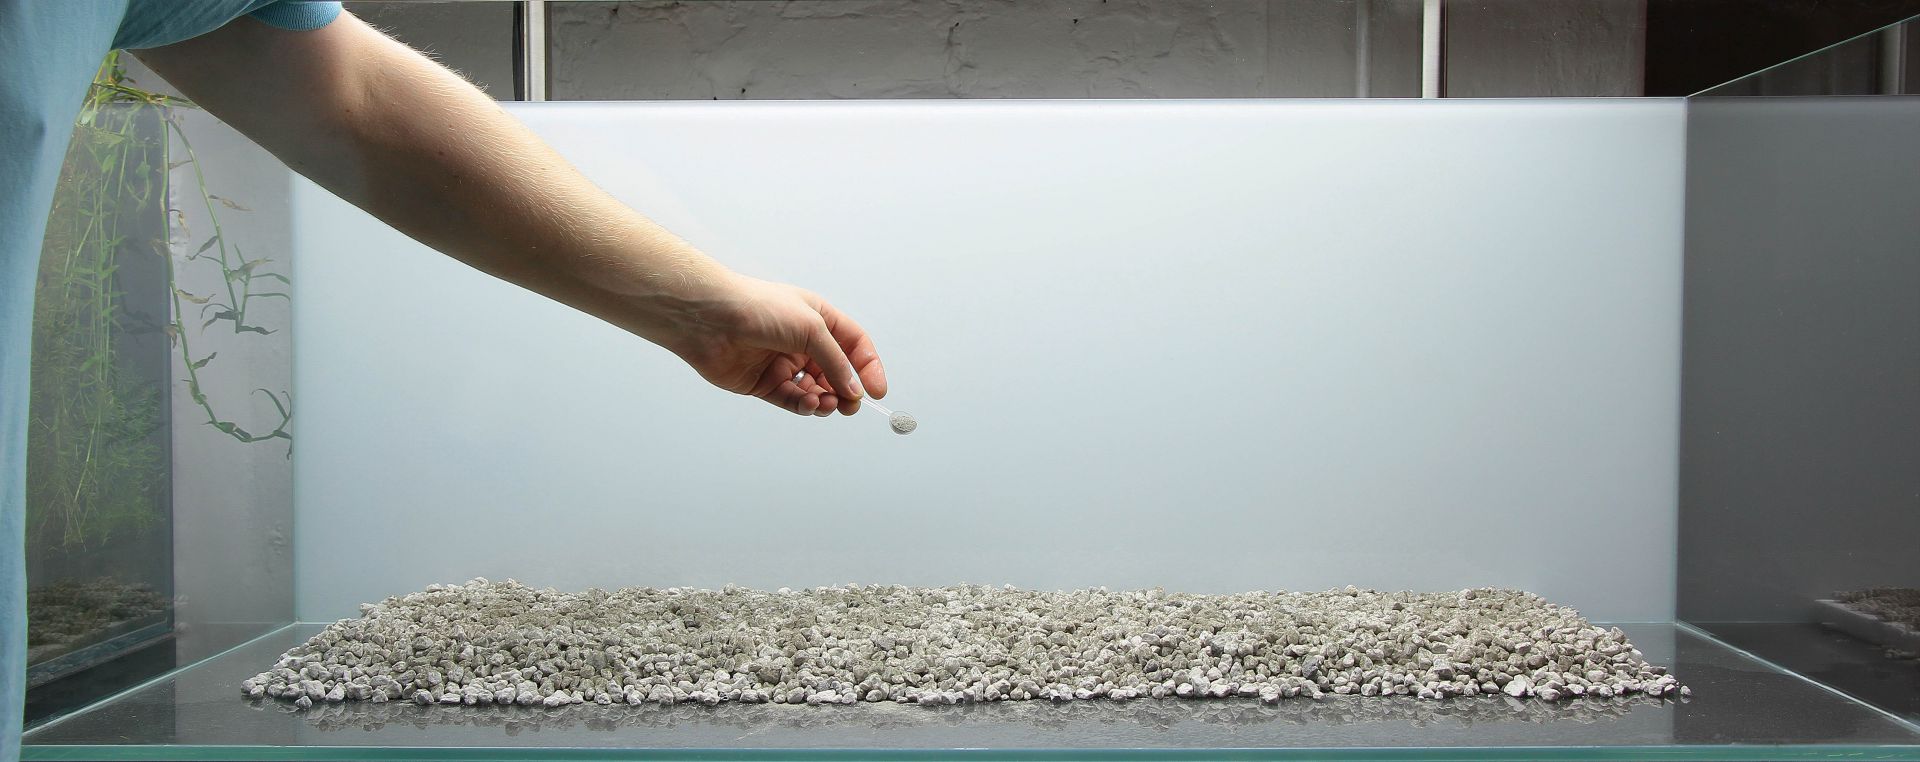
Now, depending of manufacturer and substrate system, various pulverized additives are spread over the whole area of the bottom layer of the substrate. Often, these additives contain other nutrients that remain in the soil as slow-release fertilizers. But also bacterial preparations are added here to accelerate the growth of beneficial bacteria in the soil.
Please note: To prevent getting dust everywhere, when filling up the tank later, you can moisten the construction during this step with a spray bottle.
Step four: pre-modelling
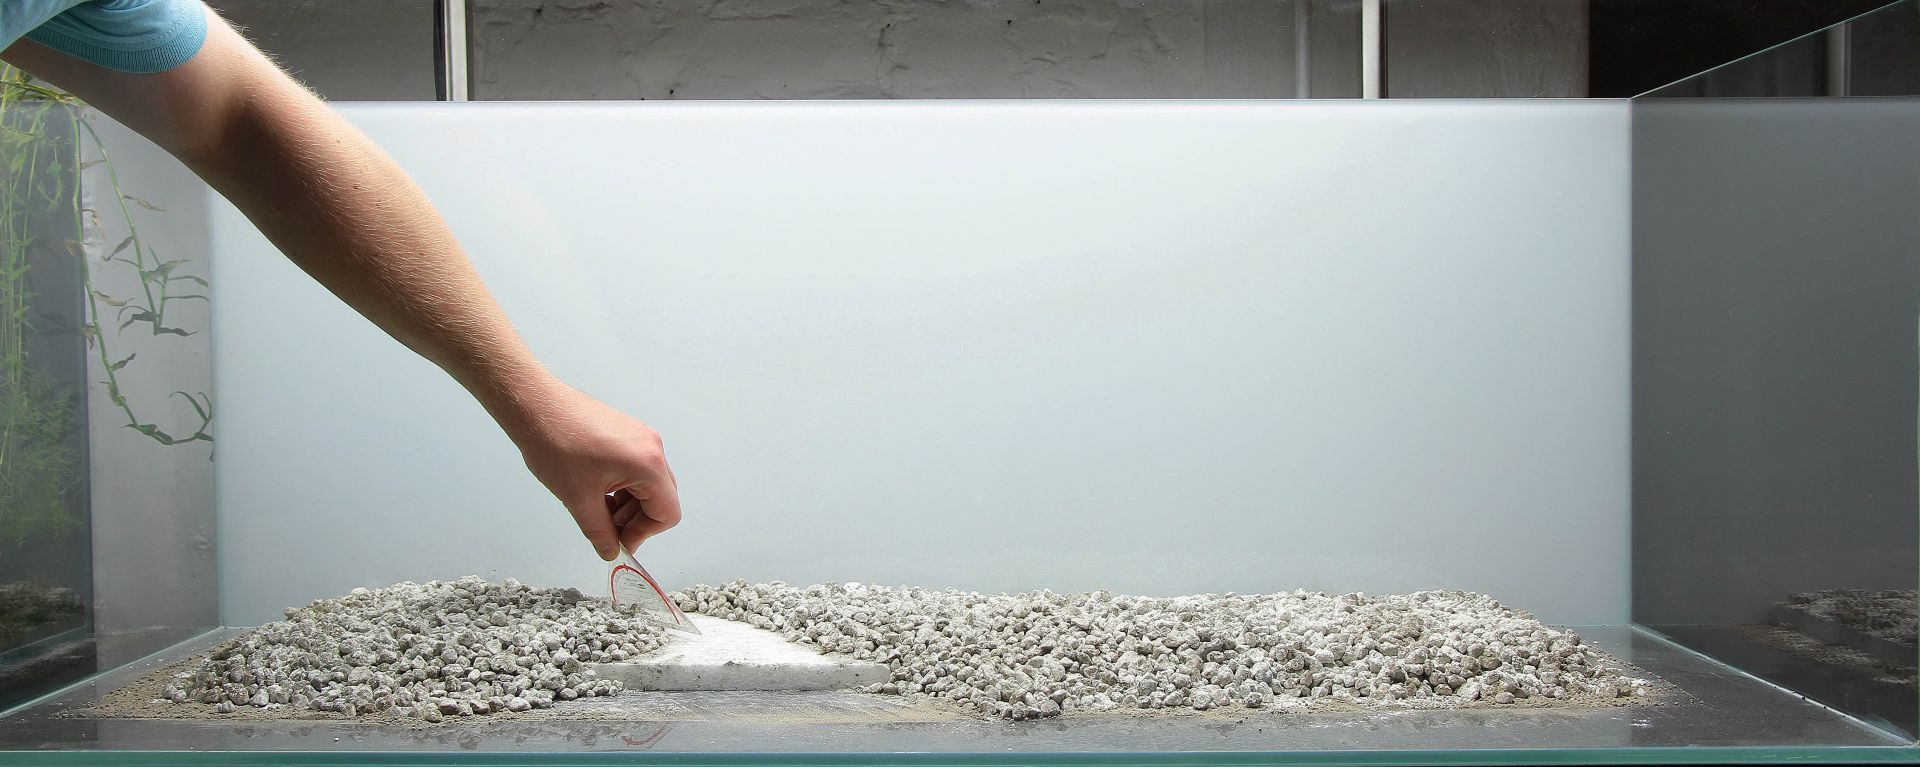
With a suitable tool (like a protractor or sand flattener) you can pre-model the substrate layout. In our example, a gorge is planned in the middle-left which is mapped out already. Auch einzelne, verrutsche Partikel werden von der Front- und den Seitenscheiben zurückgeschoben.
Step five: nets
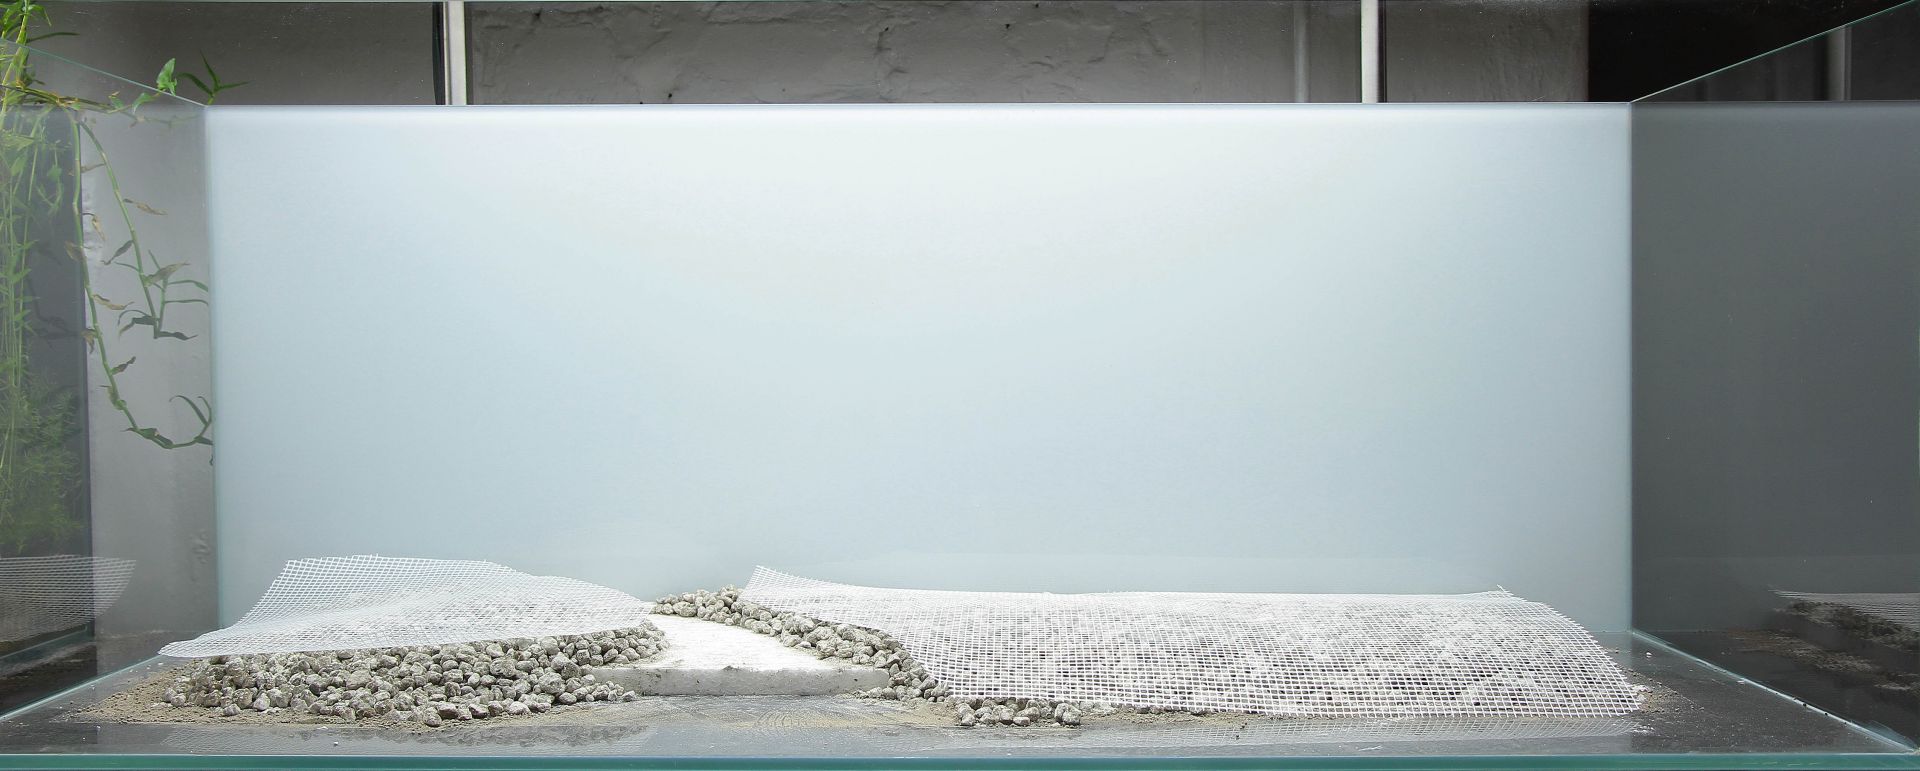
To seperate the subsurface structure from the coming layers of soil and prevent mixing, it is possibe to use a fitting mesh fabric as substrate support. The mesh keeps out bigger lava and pumice pieces but allow the plants’ roots to grow through the seperating layer and reaching the lower substrate.
Step six: sand- and soil division
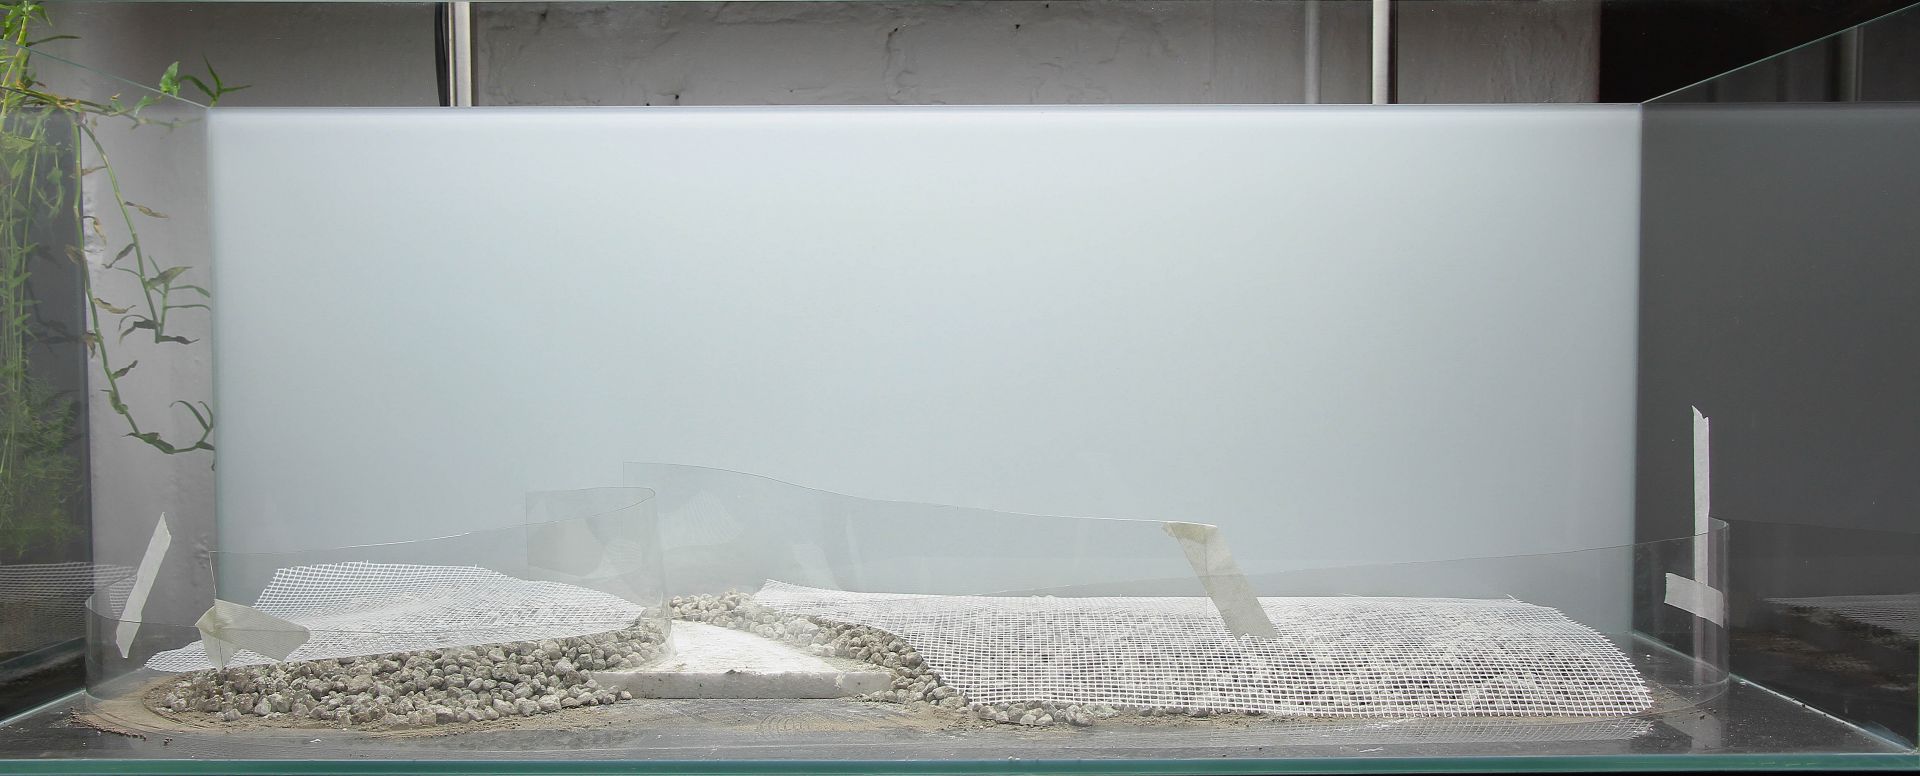
Since this layout has zones comprised of decorative sand geplant sind (foreground, sides and alley), they are seperated from the other substrates as well. For that, transparent PET foil is cut to size, formed and temporarily fixed inside the tank with adhesive tape. The tape can be removed in the end after all of the substrate has been incorporated.
Step eight: decorative sand
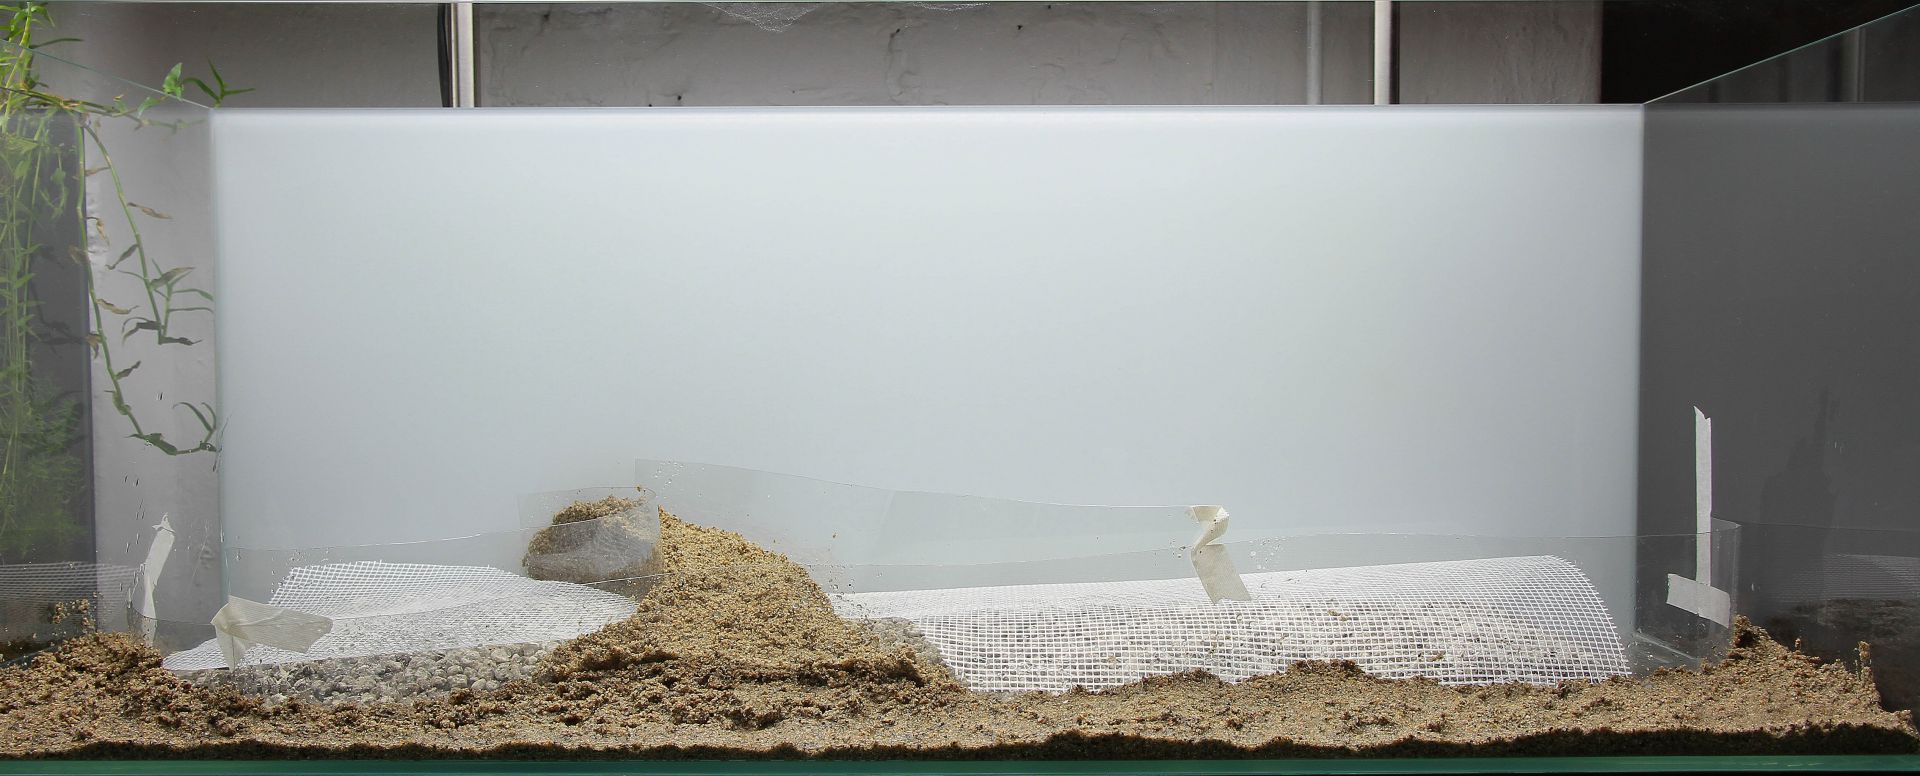
As the next step, the decorative sand is placed in the intended spots and spread evenly. Inside the “alley”, the sand gets raised, heaped up in the back for a more pronounced sense of depth.
Step nine: soil
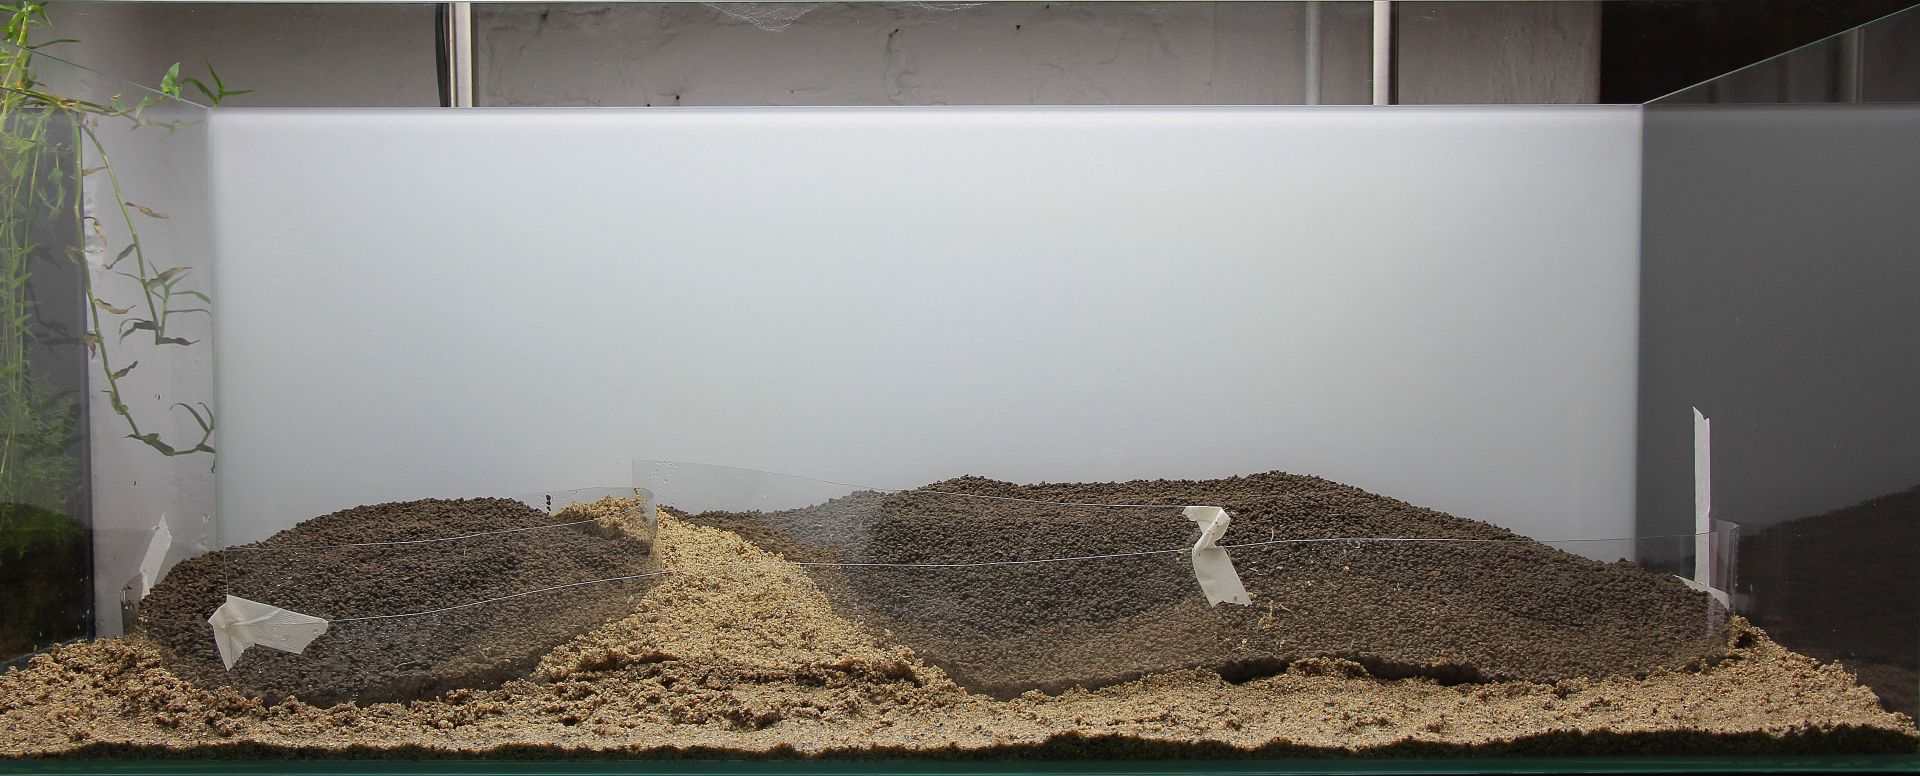
Soil is added as the upper-most covering layer in the future planting zones as well. For again, creating a better sense of depth, the substrate is applied ascending in the back. At the borders between sand and soil in the fron regions, both materials should be at the same height.
Step ten: hardscape
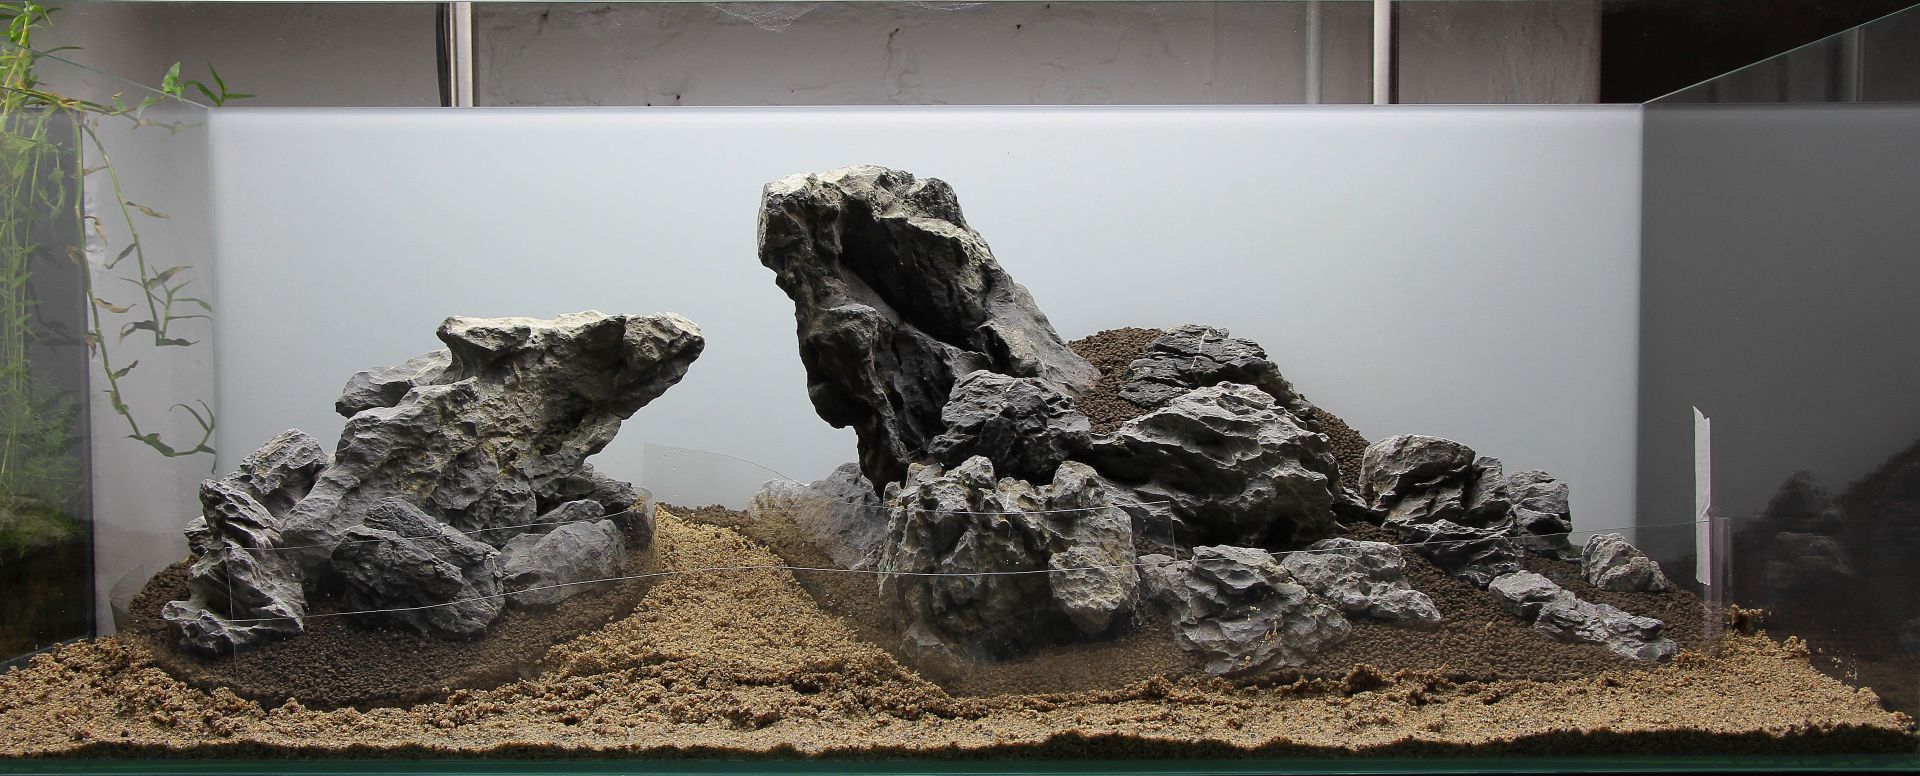
Now hardscape elements (stones, driftwood) are added. In this layout, seiryu stones in different sizes were used exclusively to mimic a rock landscape with a gorge. Additionally, more soil is added, to fill creases and stabilize the stone structure.
Step eleven: moisturize
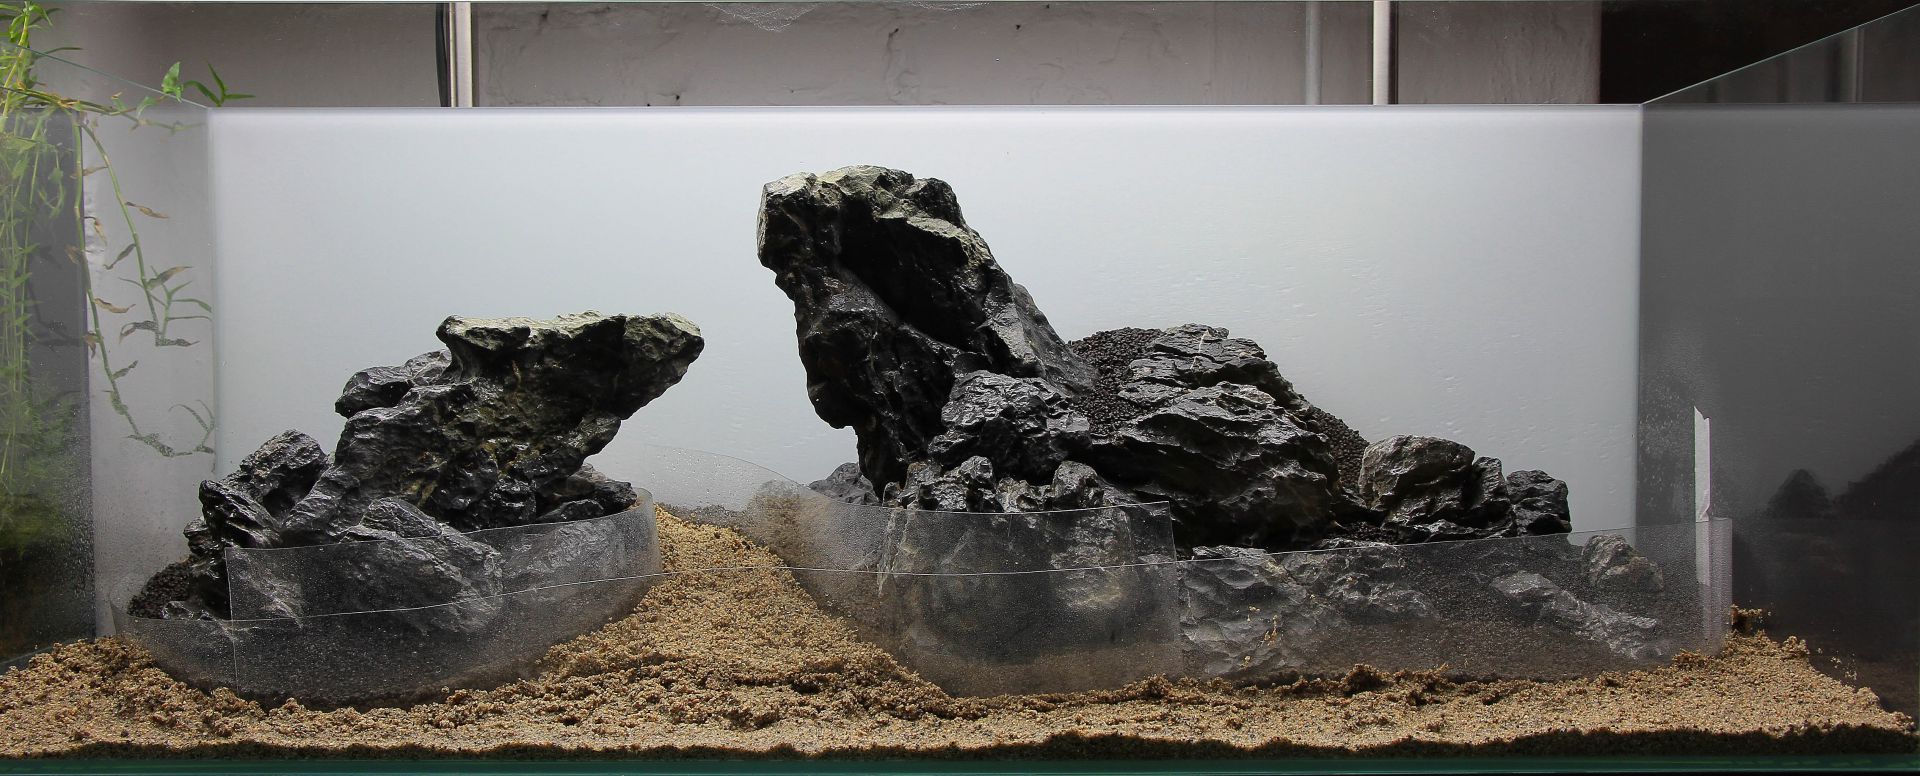
Next, the entire structure is well moistened by means of a spray bottle. This facilitates the subsequent planting of the tank. In addition, this ensures a slightly better stability in the further course of action. Due to the wetness, the soil balls adhere better to each other. Thus, the risk of having a little soil landslide during the next steps is significantly reduced.
Step twelve: plants
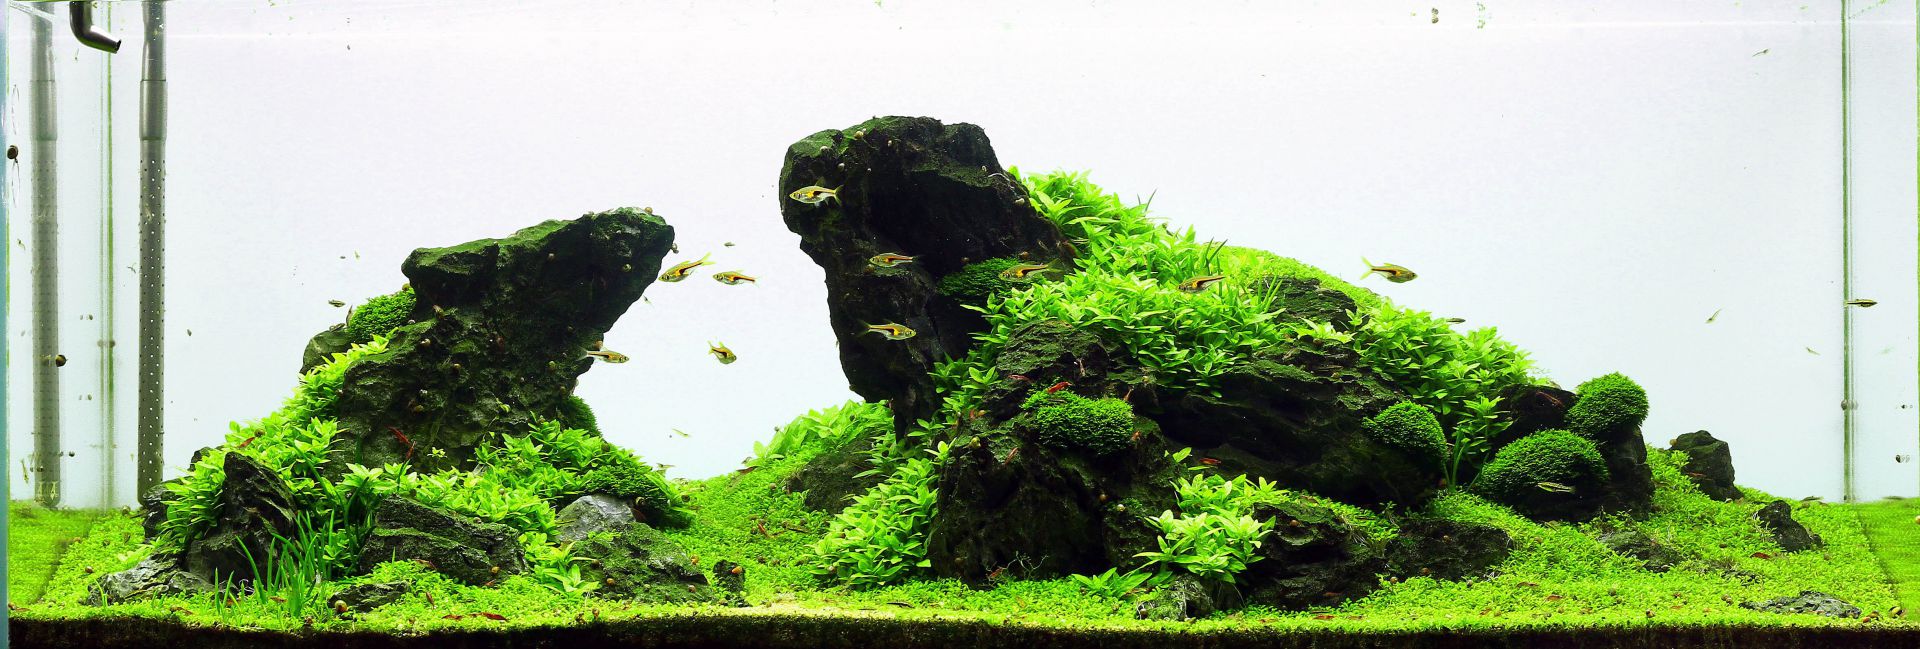
In the end, the aquarium can be planted. For the preperation and planting of your aquatic plants, we recommend reading the correspinding articles in our aquascaping Wiki. Our final shot shows Tobias Coring’s layout after a couple of weeks standing.