 Fertilization during the cycling phase
Basically, during the cycling phase of a tank it is most crucial to get the microbiology stable. This is not only important for the future animal stock, but also for the aquarium plants. How and if you fertilize your tank from day one depends on numerous factors, for example on the plants themselves, the equipment you use and the substrate you have in the aquarium. We recommend to have some liquid fertilizers on hand from the beginning anyway — just in case. Besides a fertilizer providing nitrogen (N), phosphorus (P) and potassium (K), an iron fertilizer should also form part of your basic equipment. You can provide the macronutrients nitrogen, phosphorus and potassium either by adding single-ingredient fertilizers, or you use pre-mixed NPK fertilizers like for example Aqua Rebell Makro Basic NPK or Estimative Index.
But first let us have a look at the processes an aquarium usually goes through during the first weeks, and we'll talk about fertilizing later on.
Plant adaptation
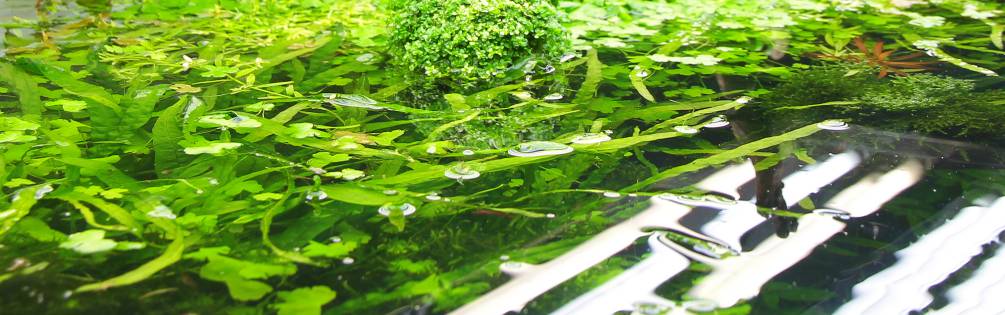
Most plants for aquaria from pet shops or aquarium stores are still in their emersed form, which means that they need to adapt to their new life under water (aka submersed growth). This adaptation involves resource-consuming hormonal processes and needs quite a bit of time.
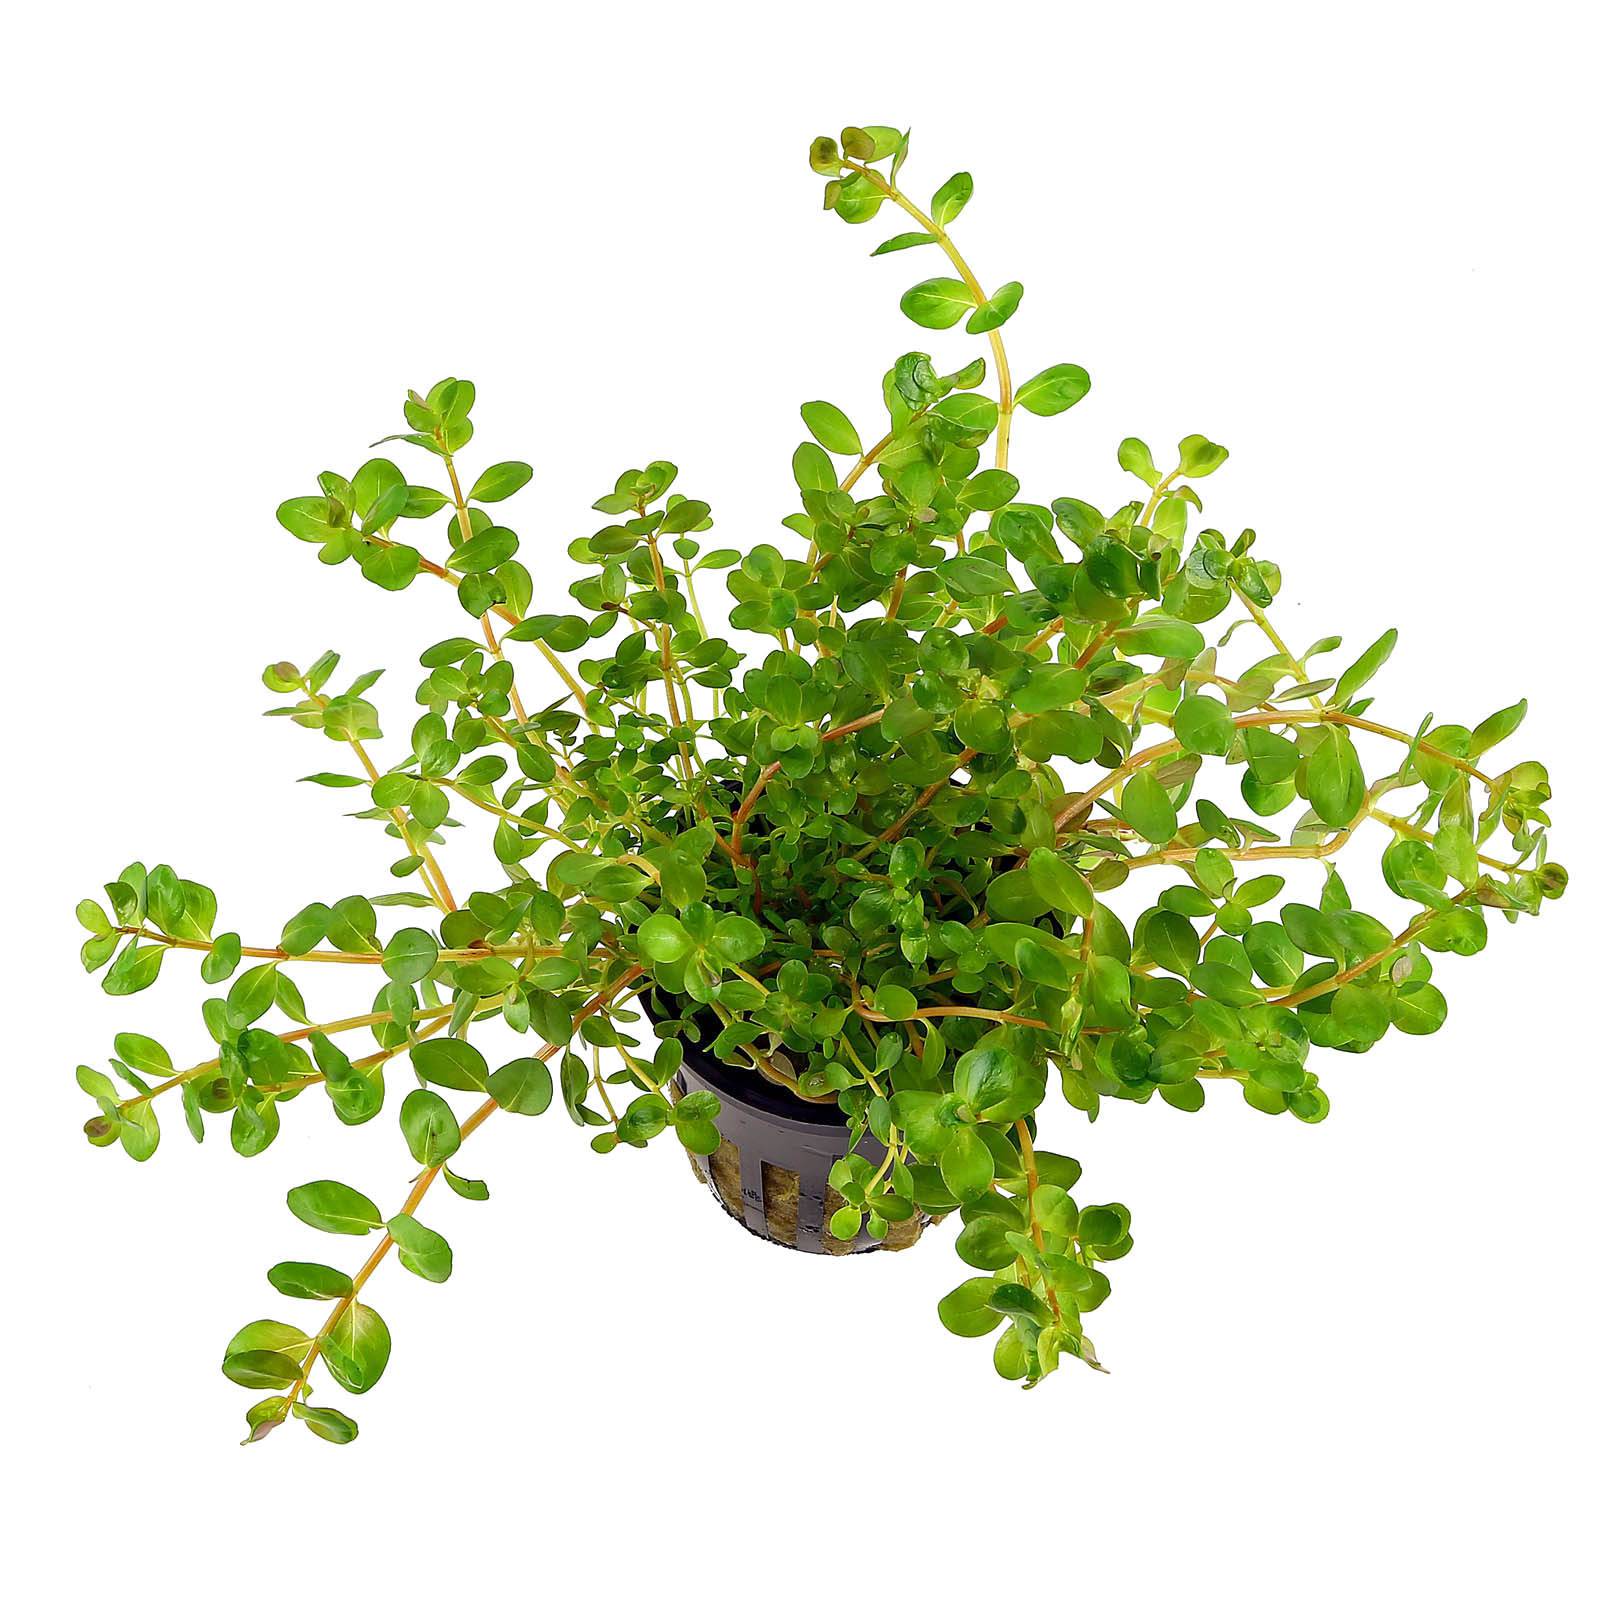
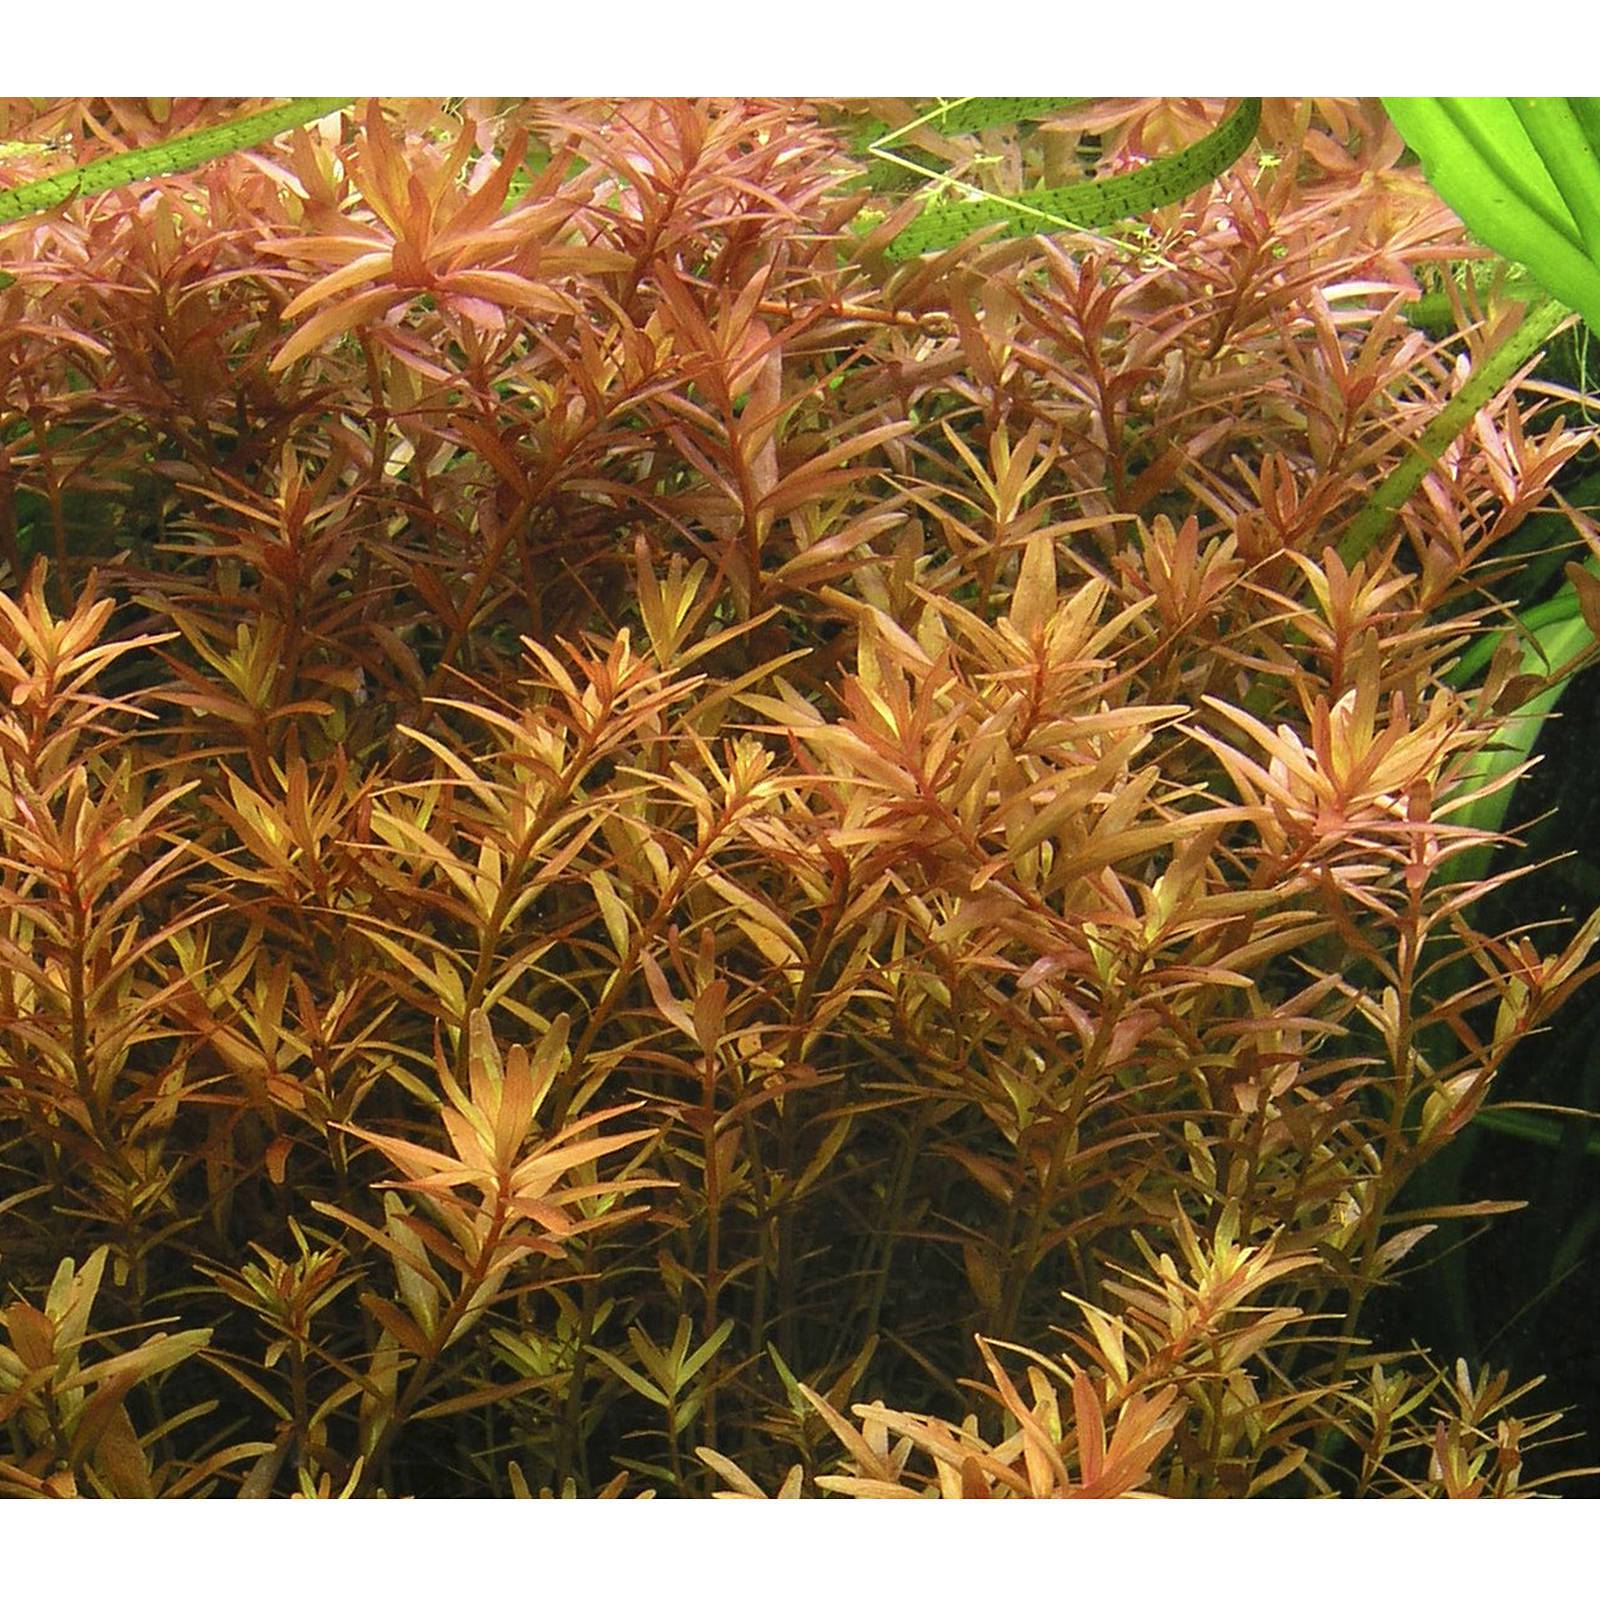
Rotala rotundifolia emersed and submersed. Obvious differences in leaf color and structure.
Not uncommonly, aquatic plants tend to lose all of their old emersed leaves (often seen e.g. in Cryptocorynes). However, true aquatic plants that do not have an emersed form at all also may show signs of deterioration (e.g. Blyxa japonica), a frequent phenomenon if you use a soil substrate that lowers the pH considerably. Do not give up on your plants prematurely, usually they will bounce back.
A typical mistake is starting with an insufficient plant mass. Especially during the cycling phase, the biological system in the aquarium is still quite fragile, and you need a large number of plants to keep the algae in check. Moreover, the surface of the plants provides sessile bacteria with lots of space to grow on. Often, people tend to save money in the wrong places, which results in much higher costs (time-, work- and money-wise) for algae control later on.
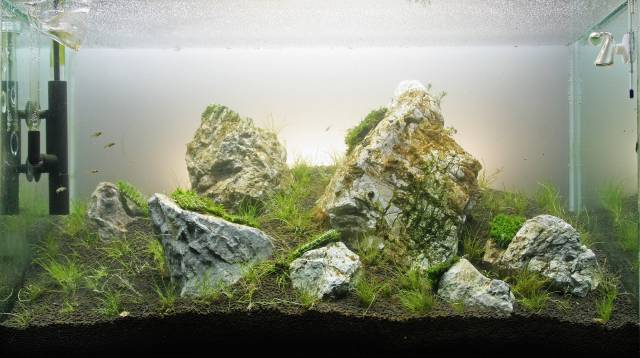
Can cause problems during the cycling phase: an aquascape with a small plant mass.
For layouts where almost exclusively ground-covering plants are used, the "Dry Start“ method is a real alternative. Another possibility is the short-term use of fast-growing, low-priced stem plants like Elodea or Ceratophyllum. You can keep them floating under the water surface as long as you need. Just make sure that they do not shade off the ground-covering plants.
Algae
A certain level of algae growth is normal during the cycling period. The plants have not fully taken root yet, and the system still needs to find its balance. As a rule, after one or two weeks, the first algae to appear are diatoms, coating the substrate, the plants and the decoration with thin brown layers. They will disappear all by themselves after some time. After the diatoms, thin green layers of algae will follow, sometimes together with thread-like green algae, usually 3 to 4 weeks after the aquarium has been set up. This is a crucial time for your tank. By now at the latest you should introduce a sufficient number of algae eaters.
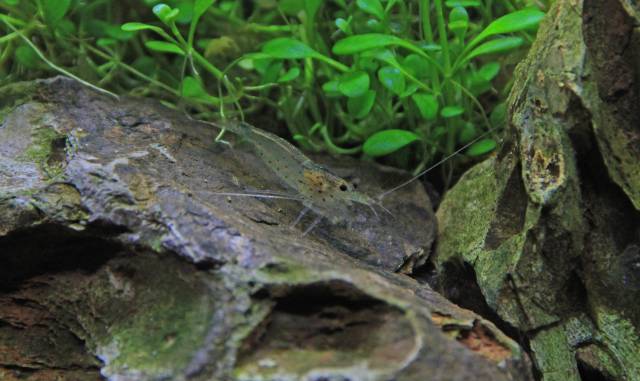
Amano shrimp, for example, are highly efficient algae eaters and like these early green algae very much. Nerite snails are also highly efficient especially when it comes to removing all those thin algae coats. (Please see: Algae eaters in the aquarium).
Bit by bit the plants will start growing and thus turn into competitors against the algae. You can easily note this in the new shoots. While old, emersed leaves may still show a thin algae coat, the fresh shoots should be free from algae and look fresh and vigorous. If necessary, remove the algae manually, or introduce more plants. If nothing else works, you can use algicides for a limited period of time in order to level out the balance between the plants and the algae. Algicides are not a long-term solution, though.
Fertilization
As we have explained above, the fertilization of a newly set-up tank depends on several factors. The following basic conditions should be met if you want to provide your planted tank or aquascape with a good start:
- A sufficiently large plant mass, which covers around 50 to 60% of the aquarium ground right after planting.
- A CO2 injection system to provide the aquarium with around 20-30 mg of carbon dioxide per liter.
- A light intensity of at least 0.5 watts/liter (for fluorescent tubes) or 30 lumens/liter (for LEDs) with an initial lighting period of 6 hours. When the setup is stable and runs without greater problems, the daily lighting time can be increased by 30 minutes per week. Aim for a daily lighting time of 8 to 10 hours.
- In a typical planted tank in the Japanese style, you usually have a mixture of different plant species, i.e. you use ground-covering plants for the foreground, mosses, ferns, Cryptocorynes and other shade plants for the midground and stem plants for the background. As most of the plants you can buy in shops are still in their emersed form, it is highly recommendable to plant at least one group of fast-growing stem plants that already has reached its submersed form, which is highly suitable as an indicator for possible deficiencies.
- An active soil substrate rich in nutrients.
Reduced micronutrient fertilizer
Especially in the beginning, the plant mass is still quite small, and the plants need to adapt to their new surroundings. For this reason, they do not need a great amount of nutrients, and we recommend a reduced fertilizer regime with the Aqua Rebell iron fertilizer; one third of the dosage specified by the manufacturer is a good guideline. As soon as the plants have adapted to life under water or if you used submersed plants from the beginning you you can see any iron deficiencies in the shoot tips: the leaves will turn pale to white. Increase the amount of fertilizer bit by bit until these symptoms go away. Most stem plans react quite fast, by the way. You'll notice an improvement within hours or days at the latest. If you find red algae (like black staghorn algae or beard algae), the amount of fertilizer is too high for the time being. It is recommendable to start adding micronutrients after a few days, or a week at the latest. If the plants you start with are already mostly in their submersed forms, adding a micronutrient fertilizer starting at day two after setup makes a lot of sense.
Macronutrient fertilizer
The fertilization with macronutrients depends strongly on the substrate that is used. If the aquarium is newly set-up with a soil substrate, please keep in mind that this substrate actively influences the water parameters and the nutrient ratio of the water. As a rule, most pre-fertilized soil substrates give off large amounts of nitrogenous compounds and, due to their cation-exchanging properties, they absorb minerals like calcium, magnesium and potassium from the water. To prevent nutrient peaks, we recommend frequent water changes of 50% during the cycling phase of an aquarium with this kind of soil substrate — at least two or three times a week. The absorption of calcium and magnesium is a positive effect, as their removal makes the water softer, slightly more acidic and thus more plant-friendly. As potassium is a main nutrient for plants a sufficient amount of it needs to be added with a liquid fertilizer. There are other active soils with a more absorptive character (like Akadama), which take a lot of nutrients from the water (and thus make them unavailable for the plants) at first as they have not been pre-fertilized as intensively. In these cases you'll need to counteract the effect by adding more liquid fertilizer until the substrate is saturated to a certain degree. When this process is complete, you'll only need to add an amount of fertilizer that covers the actual nutrient requirement of the plants.
For this reason, we generally recommend a low dose of macronutrient fertilizer in aquaria with pre-fertilized soil substrates from day one on to close possible nutrient gaps. This purpose is ideally met by pre-mixed NPK fertilizers that contain slightly more potassium, like for example the Makro Basic NPK fertilizer by Aqua Rebell. An alternative that allows you a more precise control of the individual nutrients would be the combination of a phosphate fertilizer with a nitrate fertilizer based on potassium nitrate. In the beginning, it serves mainly as a source of potassium, later on its main purpose will be the provision of nitrogen. Of course it is also possible to use a potassium-only fertilizer to add the pure nutrient uncorrelated with other nutritious elements.
If you use unfertilized neutral substrates like sand or gravel in your tank, thinks look a bit different. These substrates do not give off nutrients and they do not influence the water parameters at all. In order to provide your plants with sufficient nutrients anyway, we recommend to add an appropriate amount of the respective fertilizers just one time to reach the following water parameters when the aquarium is started:
- approx. 15 mg/l NO3 (target 10 to 25 mg/l)
- approx. 10 mg/l K (target 5 to 10 mg/l)
- approx. 0,5 mg/l PO4 (target 0,1 to 1 mg/l)
Of course, if you do that you will need a good amount of plants and the right equipment (just like we have described above, with the exception of the substrate, of course). You can also use the method of reduced micronutrient fertilization. In the field of macronutrients, though, we do not have as big a nitrogen peak as in a tank with a pre-fertilized active soil. As the macronutrient uptake in a tank with neutral substrate is not as pronounced in the beginning your plants will do well with a reduced daily dosage of NPK nutrients that is amended bit by bit as the plants increase their nutrient intake. The disadvantage of a neutral substrate is of course that it does not provide the plants with nutrients as an active soil would and that it does not have the properties to buffer possible nutrient gaps. An incomplete fertilizing regimen and nutrient deficits become visible much earlier. If you plan on using a neutral substrate, prepare to test your water parameters regularly and adjust your fertilizing regimen correspondingly.
Proceed as you would with a neutral sand or gravel if you use an unfertilized soil substrate and bring your aquarium to the parameters mentioned above one time when starting the tank. Depending on the soil you use, certain nutrients will disappear from the water. With the corresponding tests and the help of pictures of nutrient deficiency symptoms in aquatic plants you will be able to find out which elements are mainly absorbed by the substrate. You ought to add them deliberately and in the right dosage with a liquid fertilizer. We explicitly recommend the use of single-component fertilizers in this case.
Water
The parameters of the water you use for your aquascape (and in the most cases, people use tap water) are of course crucial, not only for the plants but for the animals in your tank. Knowing the parameters of the water you use is also important when it comes to adjusting the fertilizing regimen: the standard parameters of course, like pH, hardness and so on, but also those more specific to plant nutrition, like iron, phosphate, nitrate and potassium. Only when you know them you can really adjust your fertilizer dosage. The calculations and dosage recommendations given above are all based on a water that is poor in or completely without nutrients. However, if the water already contains certain elements you should take that into account when determining your fertilizer dosage. It is quite helpful to use the corresponding tests on a regular basis to get an overview of the development of the nutrient situation.
The water you use for filling your tank can even be the reason for the growth of certain types of algae (like e.g. a high silicate level can further the formation of diatoms) or it may even contain algae spores. In these cases we recommend to treat your water with a reverse osmosis system or a desalination system.
Timeline
In the following, we'll give you a coarse fertilizing schedule for the cycling phase of a tank with pre-fertilized active soil. Please keep in mind that this is just an example, and that the conditions in your tank may vary. We have added a few details.
Day 1:
Decorate your aquarium, add plants, fill in the water, connect the equipment. Install a permanent CO2 test. Use starter bacteria if on hand.
Day 2:
Start adding a reduced amount of NPK fertilizer.
...
Day 4:
Change at least 50% of the water, start a reduced micronutrient fertilizing regime.
...
Day 8:
Test the water, especially for ammonium (NH4) and nitrite (NO2), change at least 50% of the water.
After week 1:
The color of the permanent CO2 test ought to turn a vivid green when the lights have been on for some time. If it doesn't, adjust your CO2 injection.
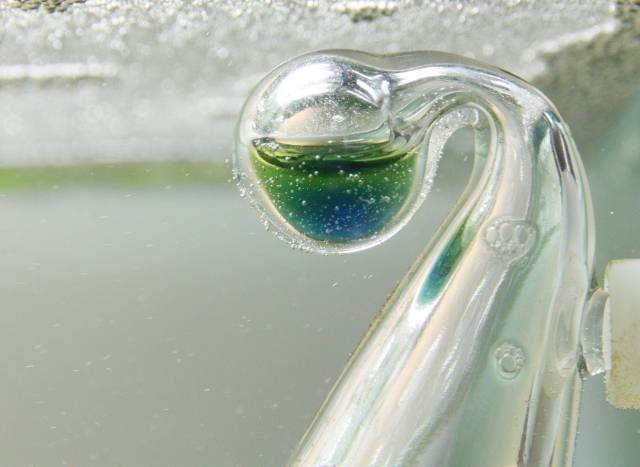
The reagent in the dropchecker changes from blue to green.
...
Day 11:
Change at least 50% of the water
...
Day 15:
Test the water, especially for NH4 and NO2, change at least 50% of the water.
After week 2:
As a rule, diatoms (brown algae layers) should have appeared by now. If your water parameters allow it (and the ammonium peak is through) you can put in the first robust invertebrate algae-eaters (e.g. snails or Amano shrimp).
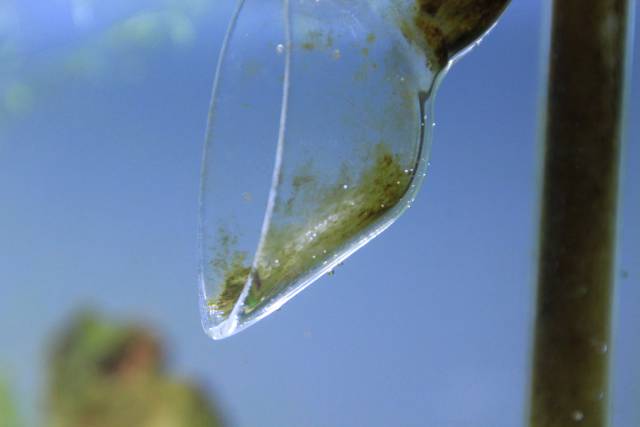
Typical algae layer on a Lily Pipe.
...
Day 18:
Change at least 50% of the water
...
Day 22:
Test for all the parameters, change at least 50% of the water.
After week 3:
The plants ought to have assumed their submersed form. They should have taken root and resumed growing visibly. It may even be time to cut back the stem plants. A comprehensive water analysis helps you to find possible nutrient gaps, and the plants may show signs of nutrient deficiencies. Optimize your fertilizing regimen. Green algae layers or green hair algae are normal during this phase, the diatoms should be on the decline.
Day 23:
Start your optimized fertilizing regimen, add micro- and macronutrients.
...
Day 25:
Change at least 50% of the water.
...
Day 29:
Test your water parameters, change at least 50% of the water.
After week 4:
This is a turning point for your tank. The nitrogen peak should let up by and by, and the basic supply of macronutrients and especially nitrogen (measurable as nitrate) should have come into balance bit by bit thanks to the addition of liquid fertilizer. Now you can switch to one water change per week. If the water parameters allow it (no detectable nitrite) you may start adding the first few fish. The plants ought to slowly win over the algae in the competition for nutrients. If you still have algae, remove them manually, add more algae-eaters or start a short-term targeted treatment, e.g. with Easy Carbo.
After roughly a month, the cycling phase of our exemplary tank has come to an end. As a rule, another one or two months may pass until the biological system inside the aquarium is truly stable. Keep a close look at plant growth, the behavior of the animals, the appearance of algae and the water parameters in order to be able to react to possible problems before they establish.