 Shooting an aquarium: Part 2
While we dealt with the basics of photography in terms of aquatics in the first article of this series , this article is much more focused on increasing lighting.
In principle there are three possibilities to optimize the factor of light in photography:
- The acquisition of fast lenses.
- Buying a better camera with a more sensitive (full-frame) sensor and a wider ISO range.
- Working with external sources of exposure.
While the measures of the first two points are, above all, very cost-intensive, the third point, 'external light sources', can achieve much better results with fairly simple means. Now let's take a closer look at those techniques.
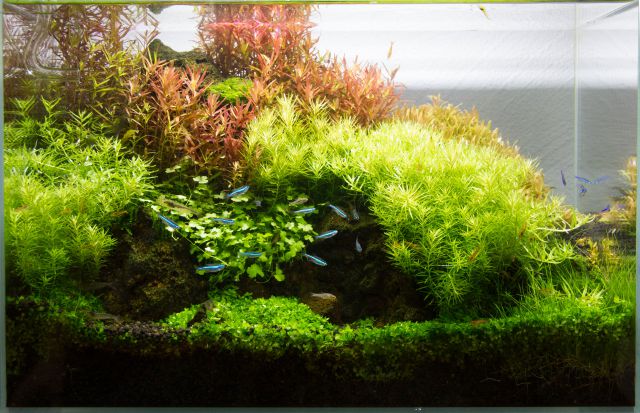
An example: This layout was photographed with the normal aquarium lighting. The ISO value is 1250, which is quite high and causes image noise. In addition, considerable shadow edges are perceptible on the rear pane. There is still quite a need for optimization here.
Photographing with continuous light
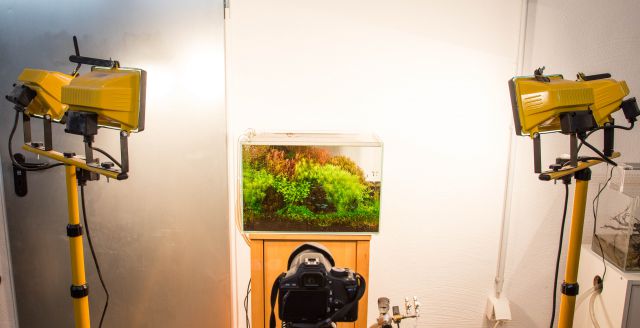
For this you can use various spotlights and lamps - from your household if need be - for better illuminating the object (the aquarium) than would be possible with just the regular aquarium lighting. If spotlights are set up, it may be even better to completely remove the aquarium light bar so that it does not cast shadows. The spotlights should be placed in such a way that no reflections are generated on the panes. They should therefore not be aligned exactly parallel to the front pane, but rather slightly laterally offset and from above. This also creates a more spatial effect.
Two double-spotlights were used for this photo. The ISO value is now 400. The illumination and light output is better overall. Something unwelcome is the warm color temperature of the spotlights, which has led to a yellow-red cast of the picture.
Conclusion
Pros:
Relatively cheap and feasible with simple means. Satisfactory results.
Cons:
Due to the continuous lighting, the oxygen production of the aquatic plants is often increased so much that lots of bubbles are produced. This can sometimes be seen in the photos and may disturb the overall picture and impression.
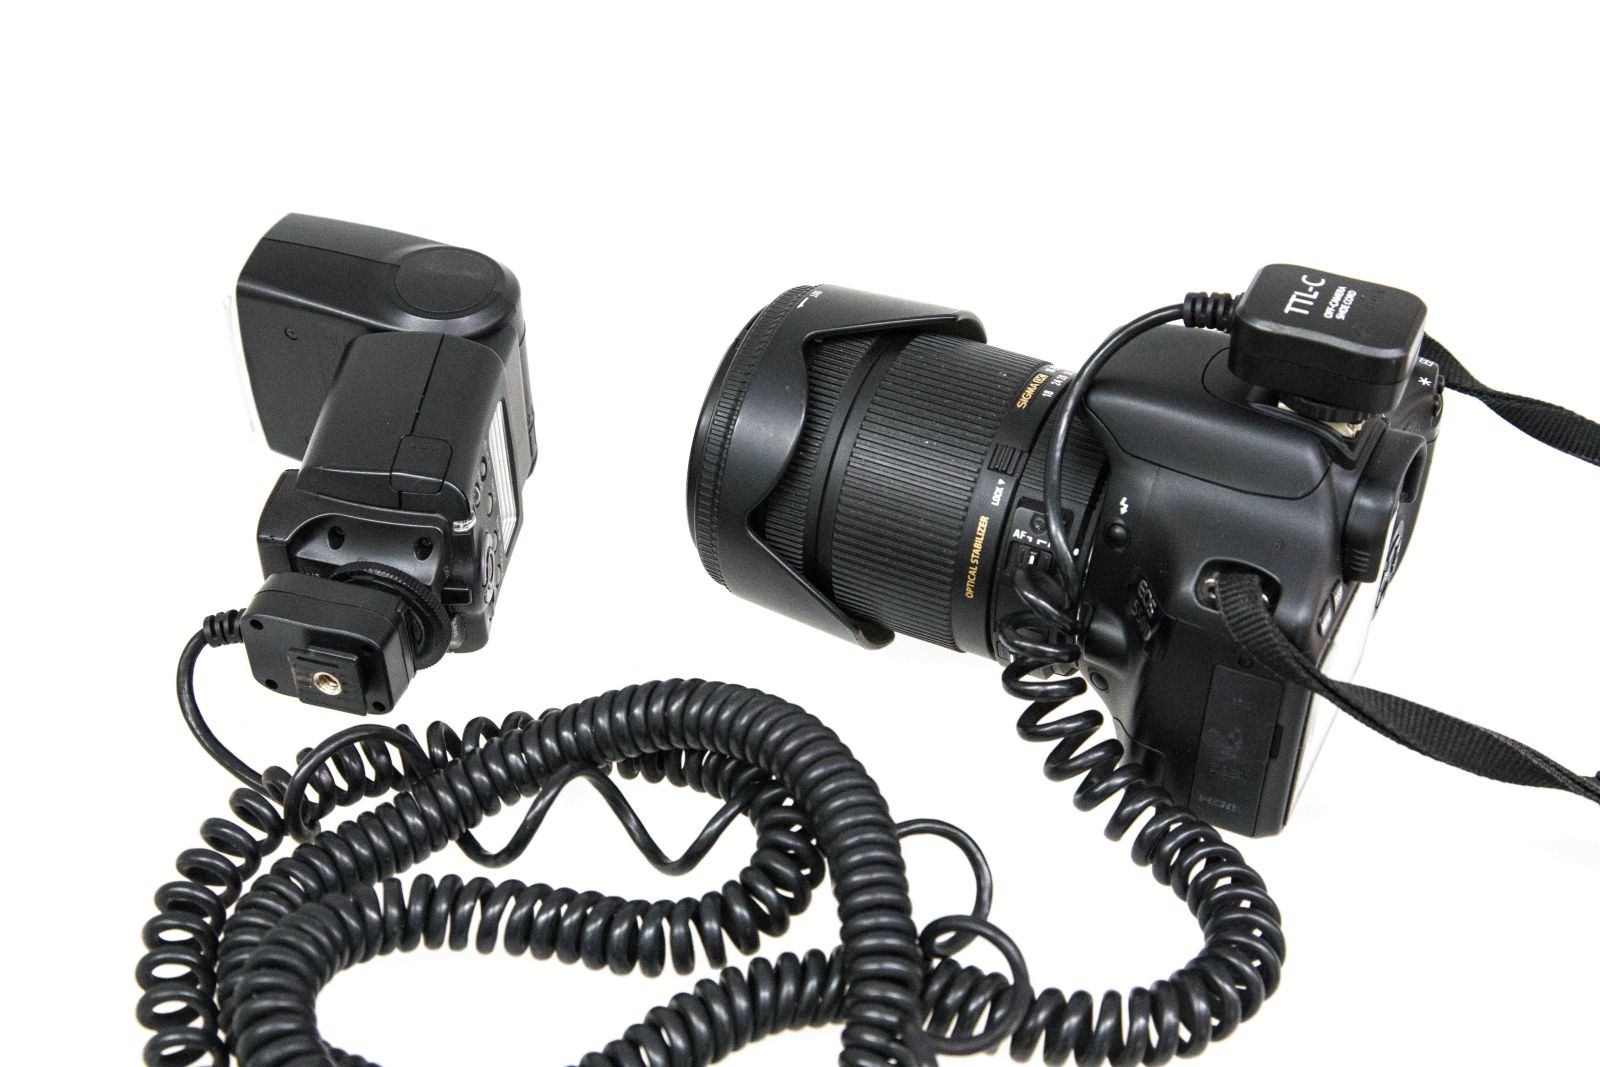
Taking pictures with flash
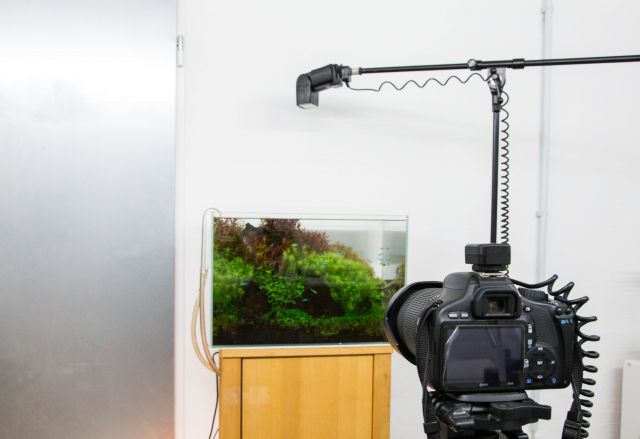
Very useful in aquarium photography is the so-called unbound flashing. For example, a common external flash is used, but it is not installed on top of the camera. With a suitable TLL cable, flash unit and camera are connected. The camera is positioned in front of the aquarium with a tripod, the flash is then placed above the aquarium. For this purpose, a suitable lightning tripod with gallows is worth buying. Significantly cheaper than lightning tripods from the photo store are a boom stand and a 3/8 "female to 1/4" male thread reducer from the music store.
You’ll have to experiment a bit with the position of the flash. Thus, the height affects the overall illumination, whereas a backward angle illuminates the background and rear pane more strongly. To not make the light of the flash not seem too hard, you should soften the light. Many mountable flashes have an unfoldable diffuser plate which spreads the light better.
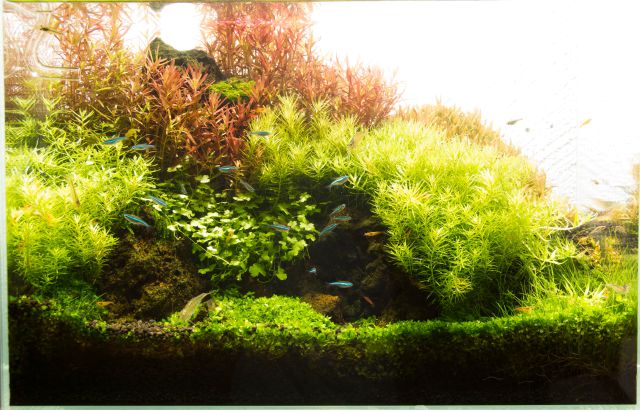
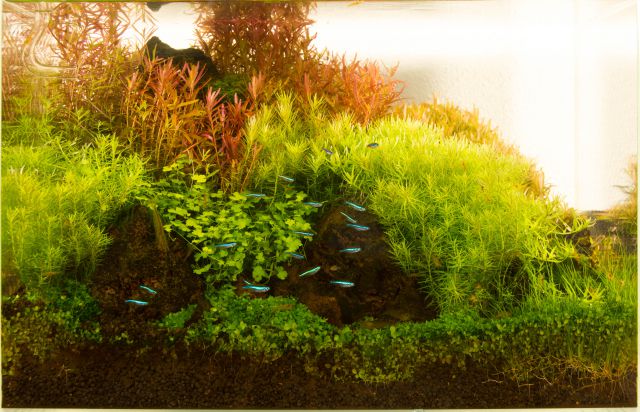
Here an external flash was used. The ISO value is now as low as possible with 100. The light output is significantly increased, easily recognizable on already overexposed areas (background and shoot tips of the plants). The performance of the flash can be fine-tuned on the camera itself. Due to the stray light of the flash, we now have reflections on the front pane. But this can be optimized by using a photo frame made of black cardboard or a softbox.
Conclusion
Pros:
Good results.
Cons:
Unfortunately, one flash is not enough to properly illuminate a larger aquarium (more than 60 cm edge length). Here you have to upgrade to several flashes, which you can control by the "master & slave" principle. The wired flash represents the master, which communicates with the slave flashes using infrared.
Taking photos with flash and softbox
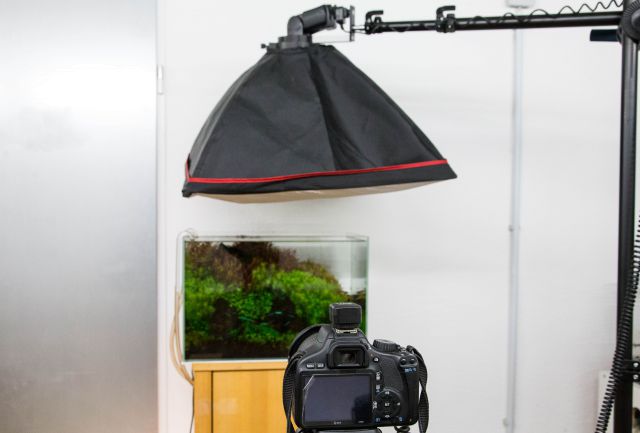
Flashes usually provide punctual illumination, which is not always desirable. In aquarium photography, this often results in overexposed zones in the upper half of the picture, near the surface of the water, while there are shadow zones near the ground. The remedy here is the use of a softbox. This attenuates the light of the flash and ensures a more extensive illumination. For optimal alignment a proper gallows tripod is needed.
Softboxes can also be tinkered as a do-it-yourself variant for a small budget, for example from a moving box lined with aluminum foil. This should have approximately the same footprint as the aquarium. The interior walls of the softbox are completely covered with aluminum foil (or other similar reflective material).
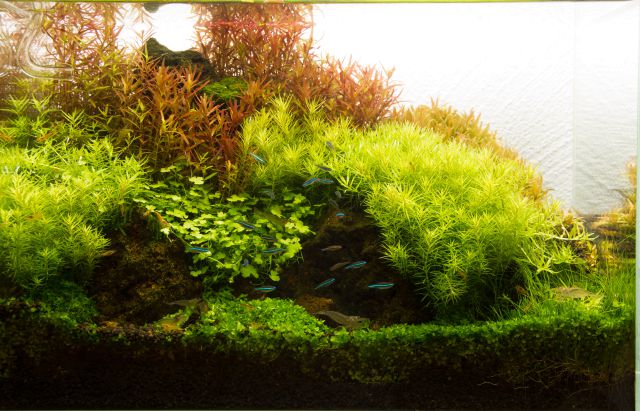
The softbox ensures noticeably less overexposure and reflections by stray light. The light output and illumination remain in a very good range, the ISO value is at 100 here.
Conclusion
Pros:
Very good results.
Cons:
A little more expensive. Unfortunately, one flash is not enough to properly illuminate a larger aquarium (more than 60 cm edge length). You’ll have to upgrade to several flashes including softboxes.