 Attaching background foil (screens)
Different types of screens
Various rear pane foils - screens - for aquariums are offered in trade, that differ in their manner of attachment or adhesive properties. The “classic” are self-adhesive films that are equipped with a suitable adhesive layer. These screens cling very well to the glass, but are also harder to work with. Non-adhesive screens are easier to attach and cut to size, their position can be corrected more easily as well. To fix them, additional aids like transparent, adhesive tape need to be used. Selfmade rear walls crafted from paper or cardboard are attached this way, too. Adhesive foils, such as the Dennerle Scaper's Back are a good alternative, since they attach to the glass easily but can also be removed again. To ensure that the film adheres properly to the glass, the surface should be as clean and dust-free as possible. To clean the back of the aquarium and attach the foil, place the glass tank on its front pane.
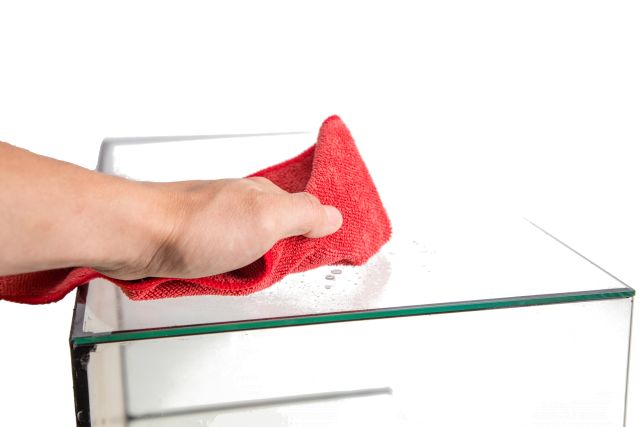
Cleaning the glass
First of all the backside of the aquarium needs to be cleaned thoroughly from the outside. Dirt and lime will stay permanently visible and unreachable for cleaning if they are trapped between pane and foil, and apart from that, a certain cleanliness is very beneficial for the overall adhesive process. To get rid of the last remnants of dust and smudges, a regular household glass cleaner from the drug store will do. You are also welcome to use a dust-free microfibre cloth for application and spreading.
Wet bonding
If removable foils are to be used, a wet surface is important. Gently sprinkle the backside of your aquarium with a spray bottle. The light moisture film makes it easier to displace the air between the foil and the glass, which ensures a bubble-free, improved adhesion of the film.
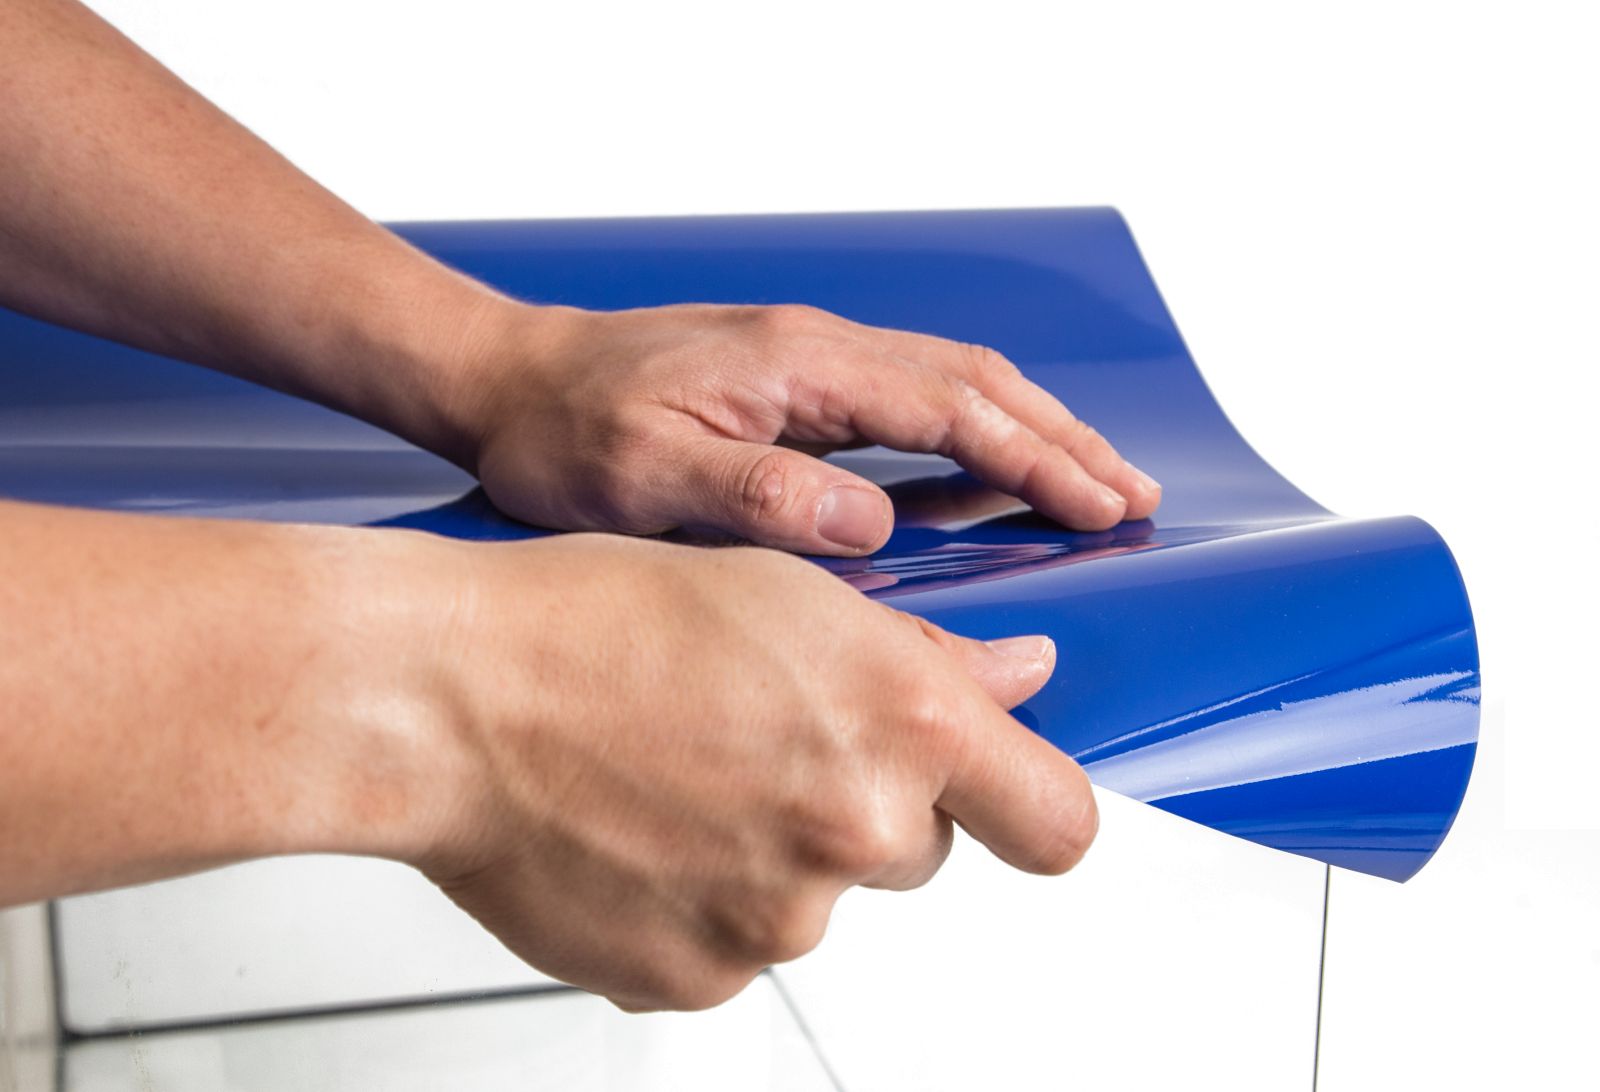
Application of the foil
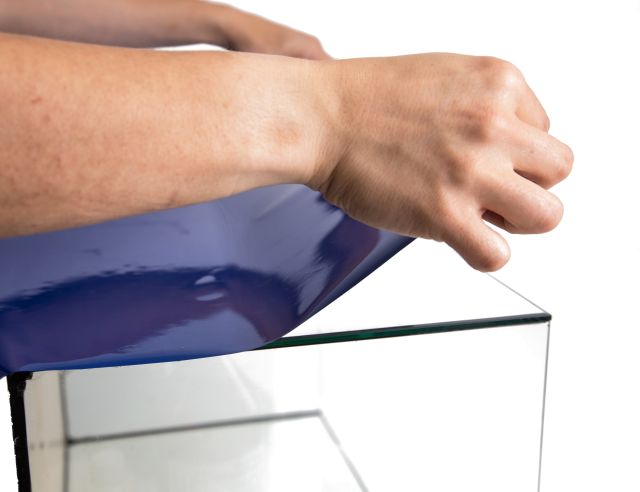
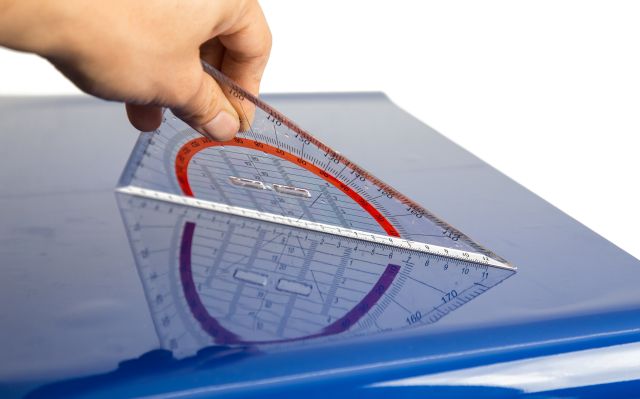
For strong self-adhesive film and / or larger aquariums, you should be very careful when applying and initially only start on one side. You move step-by-step and only advance by covering small areas, which are immediately wiped over to remove remaining air bubbles. This can be done with the bare palm, but it works better with a debit card or a set square. You rake from the inside to the outside of the foil, pushing the trapped air over the edge and to the surface.
Trimming the screen
If the film is now carefully placed and smoothed, you can cut off any leftovers. For cutting, use the sharpest possible knife with a thin blade, such as a carpet or craft knife.
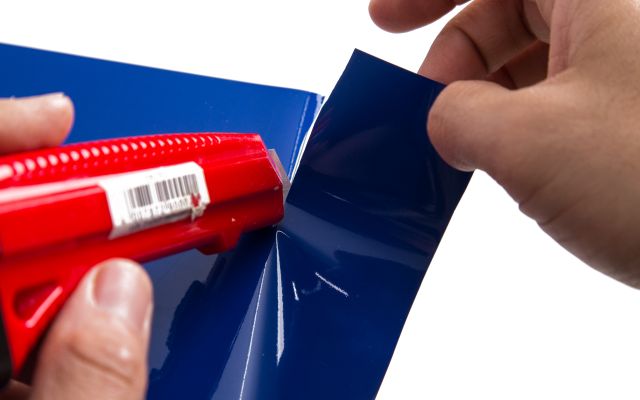
For cutting you use your free hand to gently keep the overhanging foil under tension. Using the knife you cut off the excess foil as straight and possible and in one movement along the glass edge. Afterwards the aquarium with the new back screen is ready for use. Once the aquarium is back on its base plate, you can have a look at the foil from the front and check if there are still bubbles of air that you have missed. These can be raked away using the method described above, until you have achieved the perfect look.