 Wabi-Kusa
A wabi kusa is basically a small, coherent portion of plant substrate (usually soil), often formed into balls, with different aquatic plants growing on and from it. The plants are in their emersed form. This has been made popular by Takashi Amano and his company ADA, Aqua Design Amano. Takashi Amano liked to use Wabi-Kusas to efficiently plant bigger aquarium tanks. Instead of laboriously placing aquatic plants one by one with tweezers, he simply took pre-cultivated Wabi-Kusas and placed them on the ground in the aquarium (well visible in the following video from minute 5:30).
In this way, larger areas can be planted in a short time. With time, the aquatic plants switch to their submersed form and strike root in the substrate. However, this is only one possible use of Wabi-Kusa. It is also possible to continue to use the planted soil balls emersed, be it in beautiful plant vases or bowls made of glass or above the water-line a paludarium. These are now very popular methods in which a Wabi-Kusa is regarded as an independent, aesthetic design object to beautify the living space.
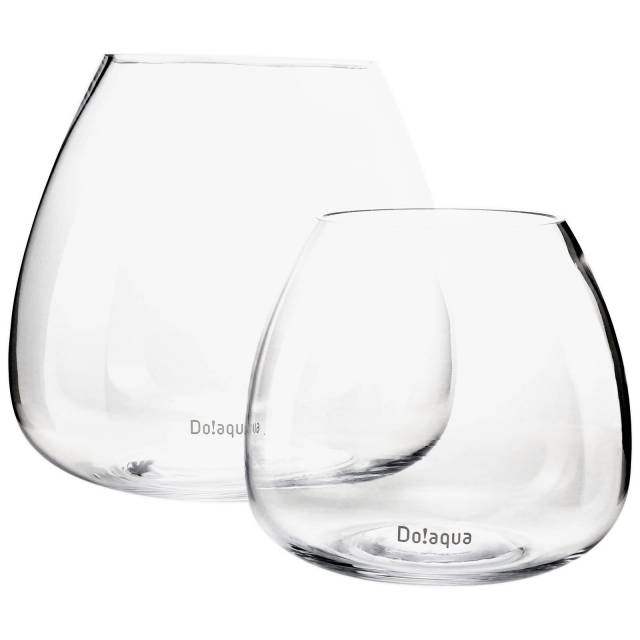
Wabi-Kusa plant vases by Do!aqua.
It is also thematically close to the so-called drystart-method where emersed plants are cultivated in their landform as well.
Wabi-Kusa is aligned with the East Asian, aesthetic concept of Wabi-Sabi, where the transitory and imperfect play a special role. There is no direct translation of Wabi-Kusa, but it can be casually circumscribed with "beautiful grass landscape".
Plants
Nearly every aquarium plant is also suitable for use in a Wabi-Kusa, provided that it can form both an underwater- (submersed) and an overwater form (emersed). In part, the emersed and submersed growth forms are considerably different from each other in color and leaf structure. Dedicated underwater plants such as Vallisneria, Blyxa or Ceratophyllum are not suitable for a Wabi-Kusa.
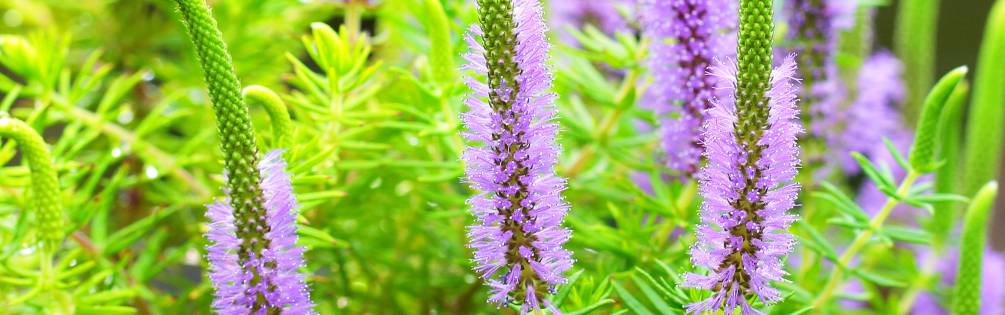
Some plant species like Pogostemon erectus develop beautiful inflorescences.
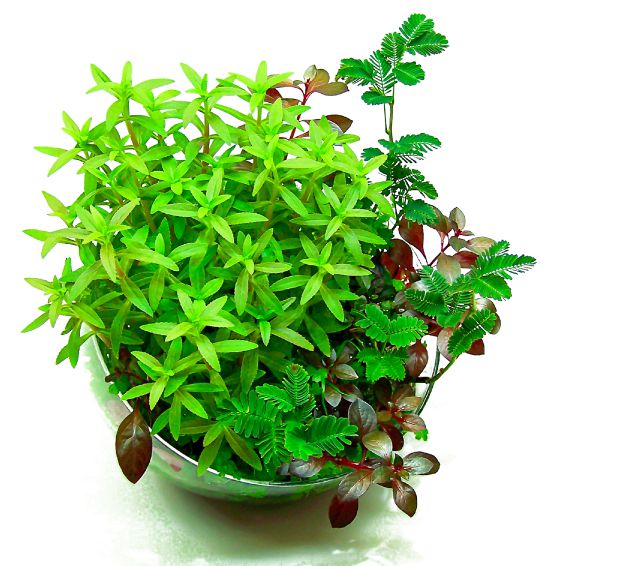
Popular plant species for a Wabi Kusa are mainly most stem plants, but also ground cover. In this context, mosses are considered "useful plants" and function as a basic structure and moisture storage.
For the initial set-up of a Wabi-Kusa, we recommend using aquatic plants that are already in their emersed form (like most potted ware available in commercial trade). It may sound easy, but as an example: using the submerged plant cuttings from your aquascape, planting them into a Wabi-Kusa and letting it switch to their emersed form is a pretty difficult undertaking and not always crowned with success. If you want to use plants from your aquarium, it is better to first let them grow beyond the water surface. The plant shoots have then already morphed into their emersed form and can be trimmed near the surface and used for the Wabi-Kusa.
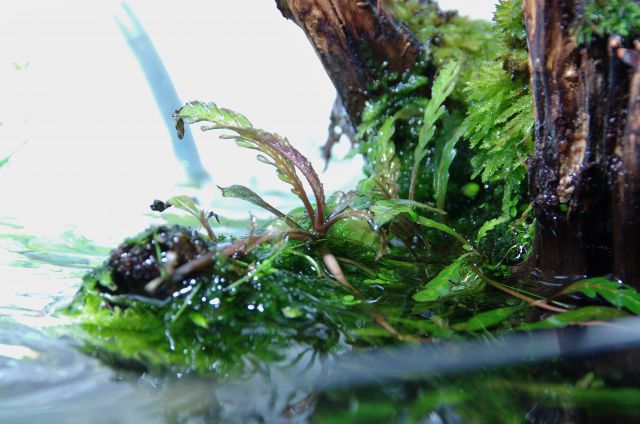
Hygrophila pinnatifida growing out of the water.
Set-up
You can easily fashion your Wabi-Kusa’s soil ball yourself. You’ll need the following tools and materials:
- Rubber gloves to protect your hands from dirt
- Some soil
- A small bowl
- Mosses
- Aquatic plants
- Fine plant tweezers
- String and scissors
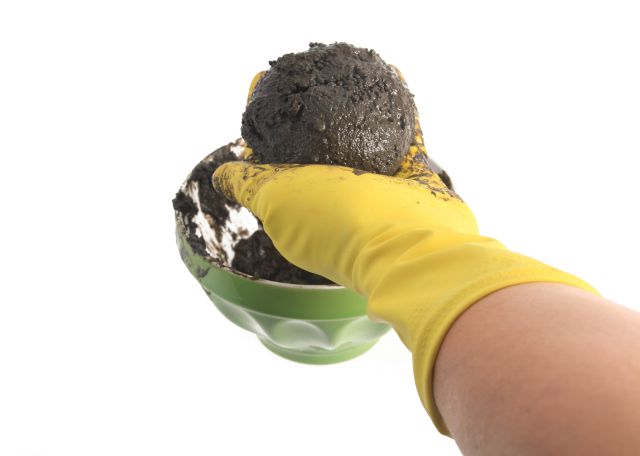
Step one: Squish that soil!

Fill some soil into the small bowl and add some water. Put on the gloves and knead the soil until you get a coherent mass. The individual soil grains get squished. The consistency of the “dough” should be slightly squashy but not so wet that it falls apart.
Step two: Form the soil
If you ended up with a coherent dough, you can form the soil into a ball with your hands. If the consistency is right, it’ll stay in its round shape. Other shapes are feasable as well (e.G. patty-shaped), but balls in vases remain the most popular.
Step three: Wrap it in moss
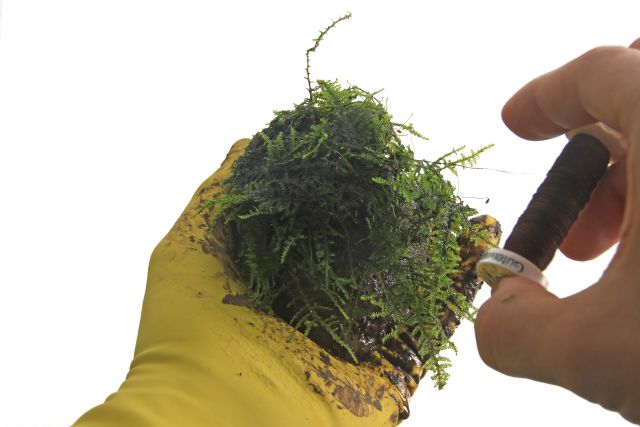
Using a string, the soil ball is now wrapped in moss. This has basically two reasons: the soil ball gets more stable and the mosses store humidity. As mosses the usual aquaristic species can be used, but also forest mosses. The material should be fixed all over the soil ball. The string should sit tightly and wrapped around often enough to take care of keeping the soil in shape and together.

Step four: Planting
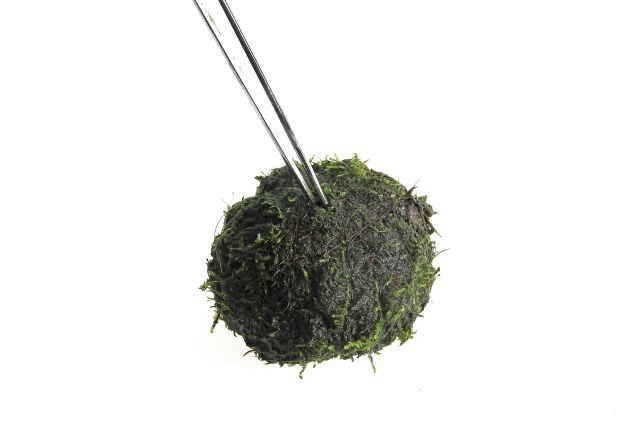
Now the ball’s upper half can be planted with aquatic plants. For that, you poke a hole into the ball with the tip of your tweezers and insert a stem.
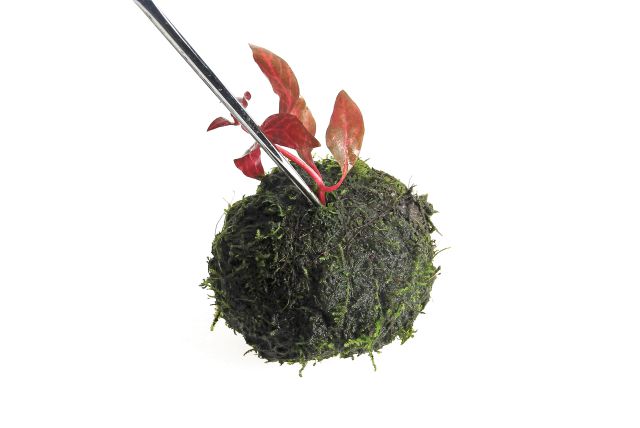
Longer stems can be set when using emersed plants. If the plants are still in their submersed form, shorter head cuttings are advised.
Step five: Installation
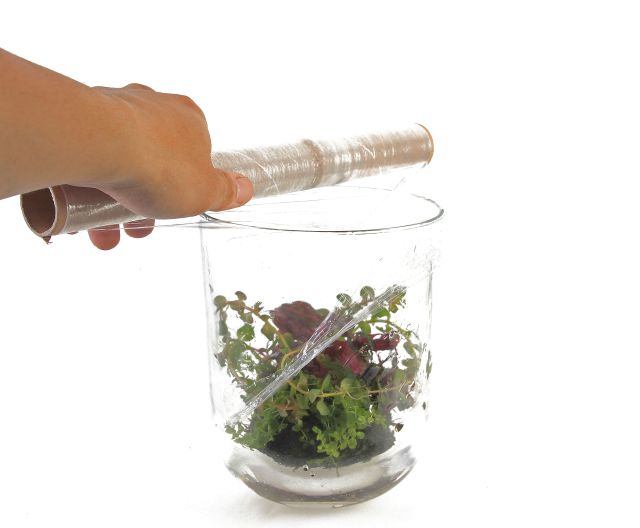
Now the planted soil ball is placed inside its glass vase or bowl. A minimal water level of just a few centimeters should be kept, to provide enough humidity in the substrate. The vase or bowl should be covered with a cling film for the first four weeks. If a sizeable number of submersed aquatic plants were used, this period should be even longer, until the plants have morphed into their emersed form. Periodic, short airing prevents mold formation. After this transitional period, you can remove the film step-by-step, to allow for the plants to get used to the drier interior air.
Humidity
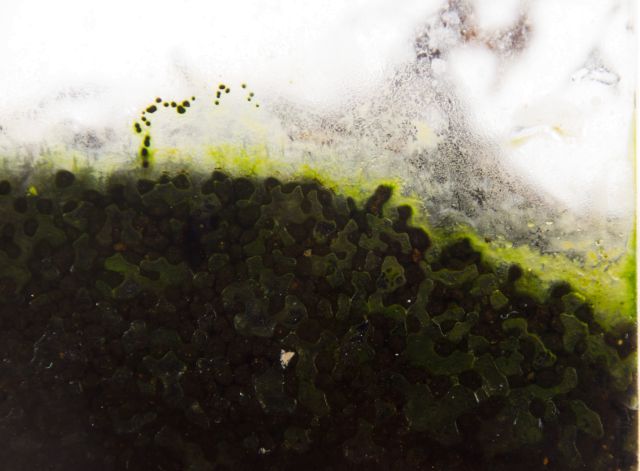
Quite similar to the drystart the amount of moisture is vital for operating a Wabi-Kusa - especially in the early phase, where the plants still need to get acclimatized. The rule here is: less is more! Too much humidity often causes the plants to disintegrate into slush. Waterlogging in the substrate need to be prevented as well. A too-high waterlevel in combination with enough incidence of light can lead to algic growth in the lower regions.
Location
Suitable locations for a Wabi Kusa are rooms with a constant climate throughout the year. Just like some indoor plants, emersed aquarium plants in an open Wabi-Kusa don’t stomach dry air too well. This can be caused by heavy heating in the autumn and winter months. Windowsills with radiators underneath are less suitable places for a Wabi-Kusa. Living rooms, which are heated with a fireplace, are ruled out for the same reasons. More suitable are "wet” rooms such as bathrooms or guest toilets, but also bedrooms or offices.
Care
Copyright by Frederic Fuss Aquascaping
After having completely switched to emersed growth, the Wabi-Kusa won’t need too much care. Depending on its location it should be periodically (twice a day) sprayed with soft water. Vaporized water from the bowl or vase is topped up and dead plant material removed. The plants are trimmed if necessary. As far as technology is concerned, only a light is needed, which is in the best case timer-operated. It is possible to run the planted bowls completely without any tech involved, if location and light incidence are right.
Fertilizer should only be added to the spraywater after a longer standing time and if the plants don’t grow as expected.